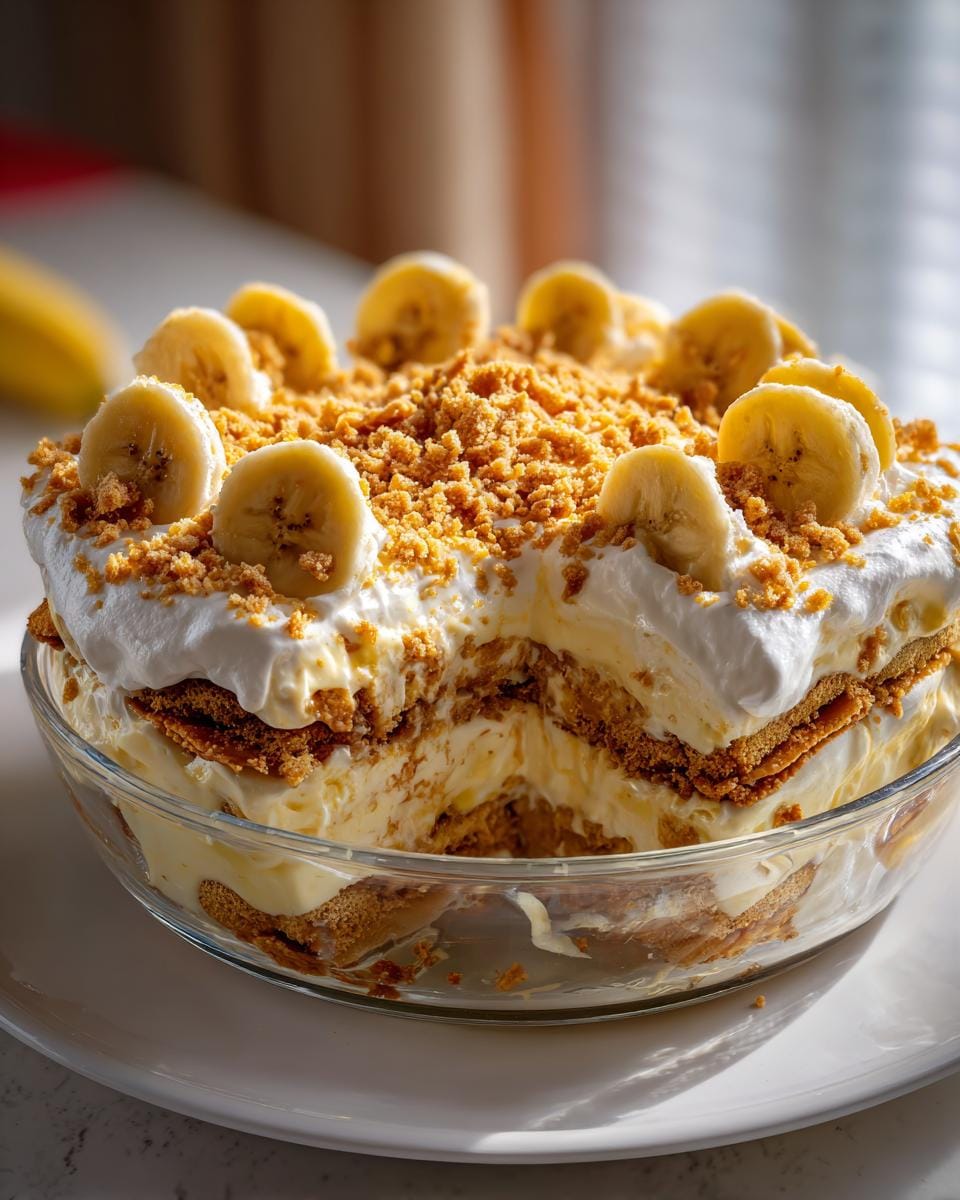
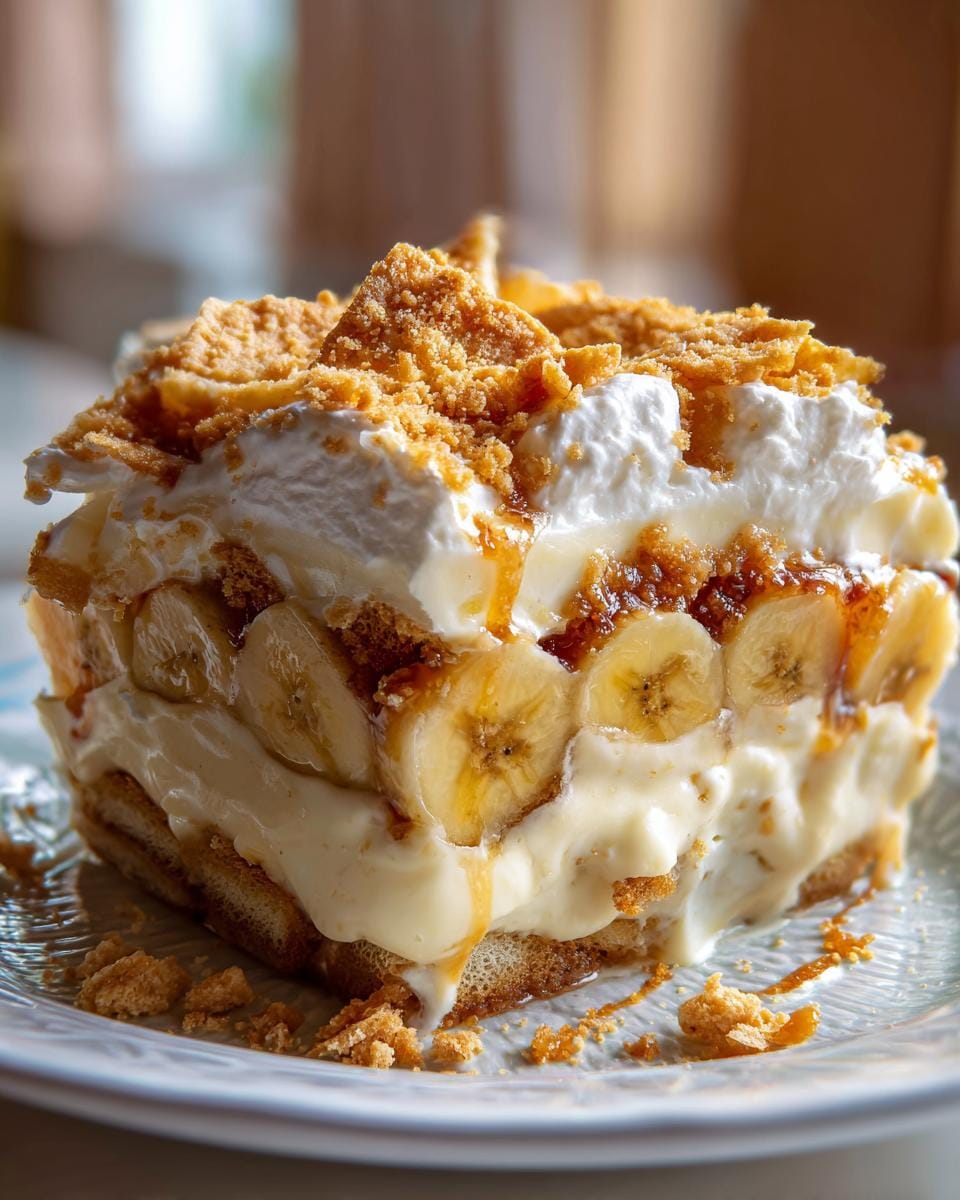
Oh, Banana Pudding! It just takes me back to summer days at my grandma’s house. You know those truly classic desserts that just feel like a warm hug? This is one of them! My easy, no-bake Banana Pudding recipe is seriously a lifesaver when you need something sweet and comforting without turning on the oven. It’s perfect for those last-minute get-togethers or just when you’re craving something utterly delicious. Trust me, this is the easiest, creamiest version you’ll ever whip up.
Why You’ll Love This Easy Banana Pudding
- No-Bake Wonder: Seriously, no oven required! Perfect for hot days or when your oven is already busy.
- Super Simple: Made with everyday ingredients and straightforward steps, even beginners can nail it.
- Creamy & Dreamy: That melt-in-your-mouth texture is pure comfort food bliss.
- Crowd-Pleaser: It’s a guaranteed hit with kids and adults alike. Great for parties or just treating yourself!
Ingredients for Your Perfect Banana Pudding
Alright, let’s talk ingredients! The beauty of this easy Banana Pudding is that you probably have most of this stuff already. Just grab these few simple things and you’re halfway to dessert heaven.
- 1 package (5 ounces) instant vanilla pudding mix
- 2 cups cold milk
- 1 cup plain Greek yogurt
- 1 teaspoon vanilla extract
- 4 ripe bananas, sliced
- 1 box vanilla wafers
- 1 cup whipped topping (like Cool Whip)
Crafting Your Delicious Banana Pudding: Step-by-Step
Okay, time to bring your amazing Banana Pudding to life! It’s honestly so simple, you’ll be amazed you’re not actually baking anything. Just follow these steps and get ready for pure creamy goodness.
Step 1: Grab a big bowl – like, a *really* big one. Pour in your instant vanilla pudding mix and the cold milk. Now, get your whisk ready and beat it all together for about 2 minutes. You want it super smooth, no lumps allowed!
Step 2: Next, stir in the plain Greek yogurt and that teaspoon of vanilla extract. Give it another good stir until everything is beautifully creamy. This is what makes it extra luscious, you know?
Step 3: Now for the fun part – building the layers! Start by putting a layer of vanilla wafers in the bottom of your serving dish. Try to cover the whole base. You can find amazing dough recipes over at High Protein Lab if you’re feeling adventurous with baking next time, but for this pudding, we’re keeping it no-bake!
Step 4: Arrange a layer of those sliced ripe bananas right on top of the wafers. Make sure they’re evenly spread out!
Step 5: Spoon about half of your creamy pudding mixture over the bananas. Just spread it out gently with your spoon or spatula.
Step 6: Repeat! Add another layer of vanilla wafers, then another layer of bananas, and finally, the rest of that glorious pudding mixture. Make sure you end with pudding on top.
Step 7: Gently spread the cup of whipped topping all over the top layer of pudding. Make it nice and smooth and even. It looks so pretty!
Step 8: Take a few extra vanilla wafers, crush them up a bit (a Ziploc baggie and a rolling pin work great!), and sprinkle them all over the top. This adds that perfect little crunch!
Step 9: This is SUPER important for the best Banana Pudding: cover it all up and pop it in the fridge for at least 2 hours. This lets the wafers soften just right and all those flavors meld together. Don’t skip this!
Serving Your Creamy Banana Pudding
This Banana Pudding is pretty perfect on its own, but if you want to take it up a notch, here are a couple of other amazing desserts from High Protein Lab you might love to serve alongside it, or maybe even get inspired by! And for something totally different but equally yummy, check out these churro cheesecake bars!
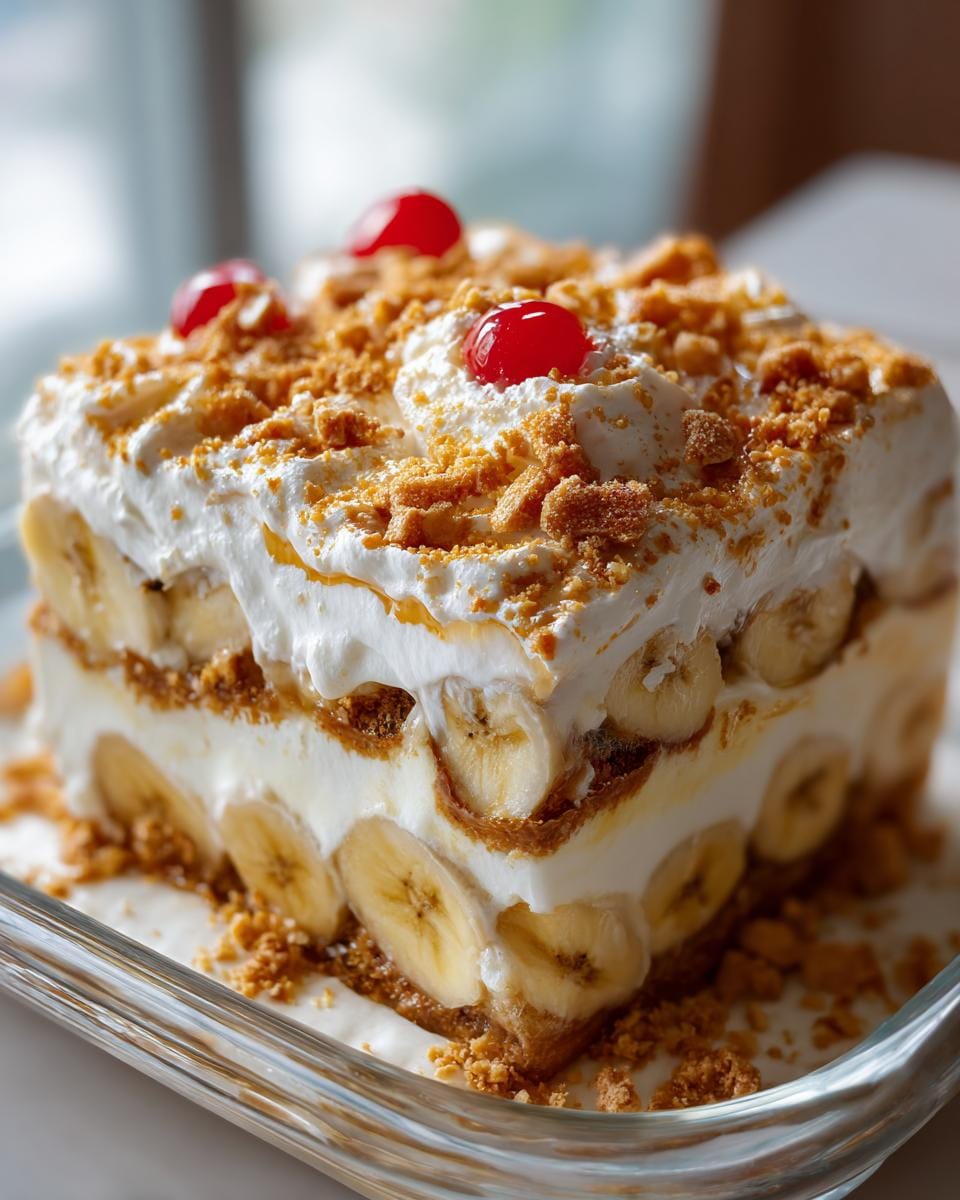
Fresh Berries: A handful of fresh strawberries or raspberries adds a pop of color and a nice tartness that cuts through the sweetness beautifully. It’s like a little flavor party in your mouth!
A Sprinkle of Cinnamon: A tiny dusting of cinnamon over the top can add a warm, cozy note that really complements the banana flavor. It’s a simple trick that makes a big difference!
Storing and Reheating Your Banana Pudding
So, you’ve got some leftover amazing Banana Pudding? Lucky you! This stuff is even better the next day. To store it, just cover your serving dish tightly with plastic wrap or foil. It’ll keep beautifully in the refrigerator for about 2-3 days. The trick is, the longer it sits, the softer those vanilla wafers will get. Personally, I love it when they’ve softened just a bit, but they might get a little mushy if it sits for too long.
Reheating this Banana Pudding isn’t really a thing since it’s no-bake and best served chilled. But if you’re prepping ahead for a party, you can totally assemble it earlier in the day. Just slice your bananas *right* before you layer them to keep them from browning too much. You can even have everything layered except the whipped topping and crushed wafers, and add those fresh just before serving. It makes it feel extra special!
Frequently Asked Questions About Banana Pudding
Got questions about whipping up this dreamy Banana Pudding? I’ve got you covered! This dessert is so forgiving, but a few common queries pop up. If you’re looking for other crowd-pleasing recipes, you might love our easy chicken enchilada casserole or our super popular creamy macaroni salad with crunchy veggies!
Can I make this Banana Pudding ahead of time?
Absolutely! In fact, I recommend it. Making this Banana Pudding at least a few hours (or even a day) ahead of time is *key* for the best texture. It gives the vanilla wafers time to soften up a bit in the pudding, and all those yummy flavors get to mingle and really deepen. Just make sure to store it covered in the fridge.
What kind of bananas should I use for Banana Pudding?
You want bananas that are ripe but not *too* mushy. Look for ones with plenty of brown spots – those are perfectly sweet and flavorful! If they’re too green, they won’t have that sweet banana taste we love. Just slice ’em up and layer them in!
Can I use a different kind of pudding mix?
While instant vanilla pudding mix is the classic for a reason, you *could* experiment. However, different flavors might change the overall taste quite a bit. For this particular Banana Pudding, vanilla is the star that lets the banana flavor shine through. Stick with vanilla for the best results, trust me!
Before You Go
I really hope you try this dreamy Banana Pudding! It’s such a simple way to bring a little joy to your table. Please let me know in the comments how it turns out for you, or share your favorite way to enjoy it! You can also check out more from me here, or find amazing ideas on Pinterest.
Easy Homemade Banana Pudding
Ingredients
Equipment
Method
- In a large bowl whisk together the vanilla pudding mix and cold milk for 2 minutes until smooth.
- Stir in the Greek yogurt and vanilla extract until creamy.
- In a serving dish add a layer of vanilla wafers.
- Top with a layer of sliced bananas.
- Spread a layer of pudding mixture over the bananas.
- Repeat the layers until all ingredients are used ending with pudding on top.
- Spread whipped topping evenly over the pudding layer.
- Crush a few vanilla wafers and sprinkle them over the top.
- Refrigerate for at least 2 hours before serving.