You know that moment when a deep, chocolate craving hits, but you’re trying to be good? That was me every day after my workout. I’d stare longingly at the brownies in the bakery case and then go home and eat something boring. I was determined to make a Protein Brownie that didn’t taste like cardboard. After what felt like a hundred test batches (my family were very willing guinea pigs!), I finally nailed it. The secret? Greek yogurt gives them that incredible, melt-in-your-mouth fudgy texture, and the protein powder actually boosts the chocolate flavor instead of fighting it. Trust me, this is the only recipe you’ll need.
Why You’ll Love These Protein Brownies
Okay, let’s be honest. Most “healthy” desserts are a sad, crumbly compromise. But these? They’re the real deal. I get excited every single time I make them, and here’s exactly why you will too.
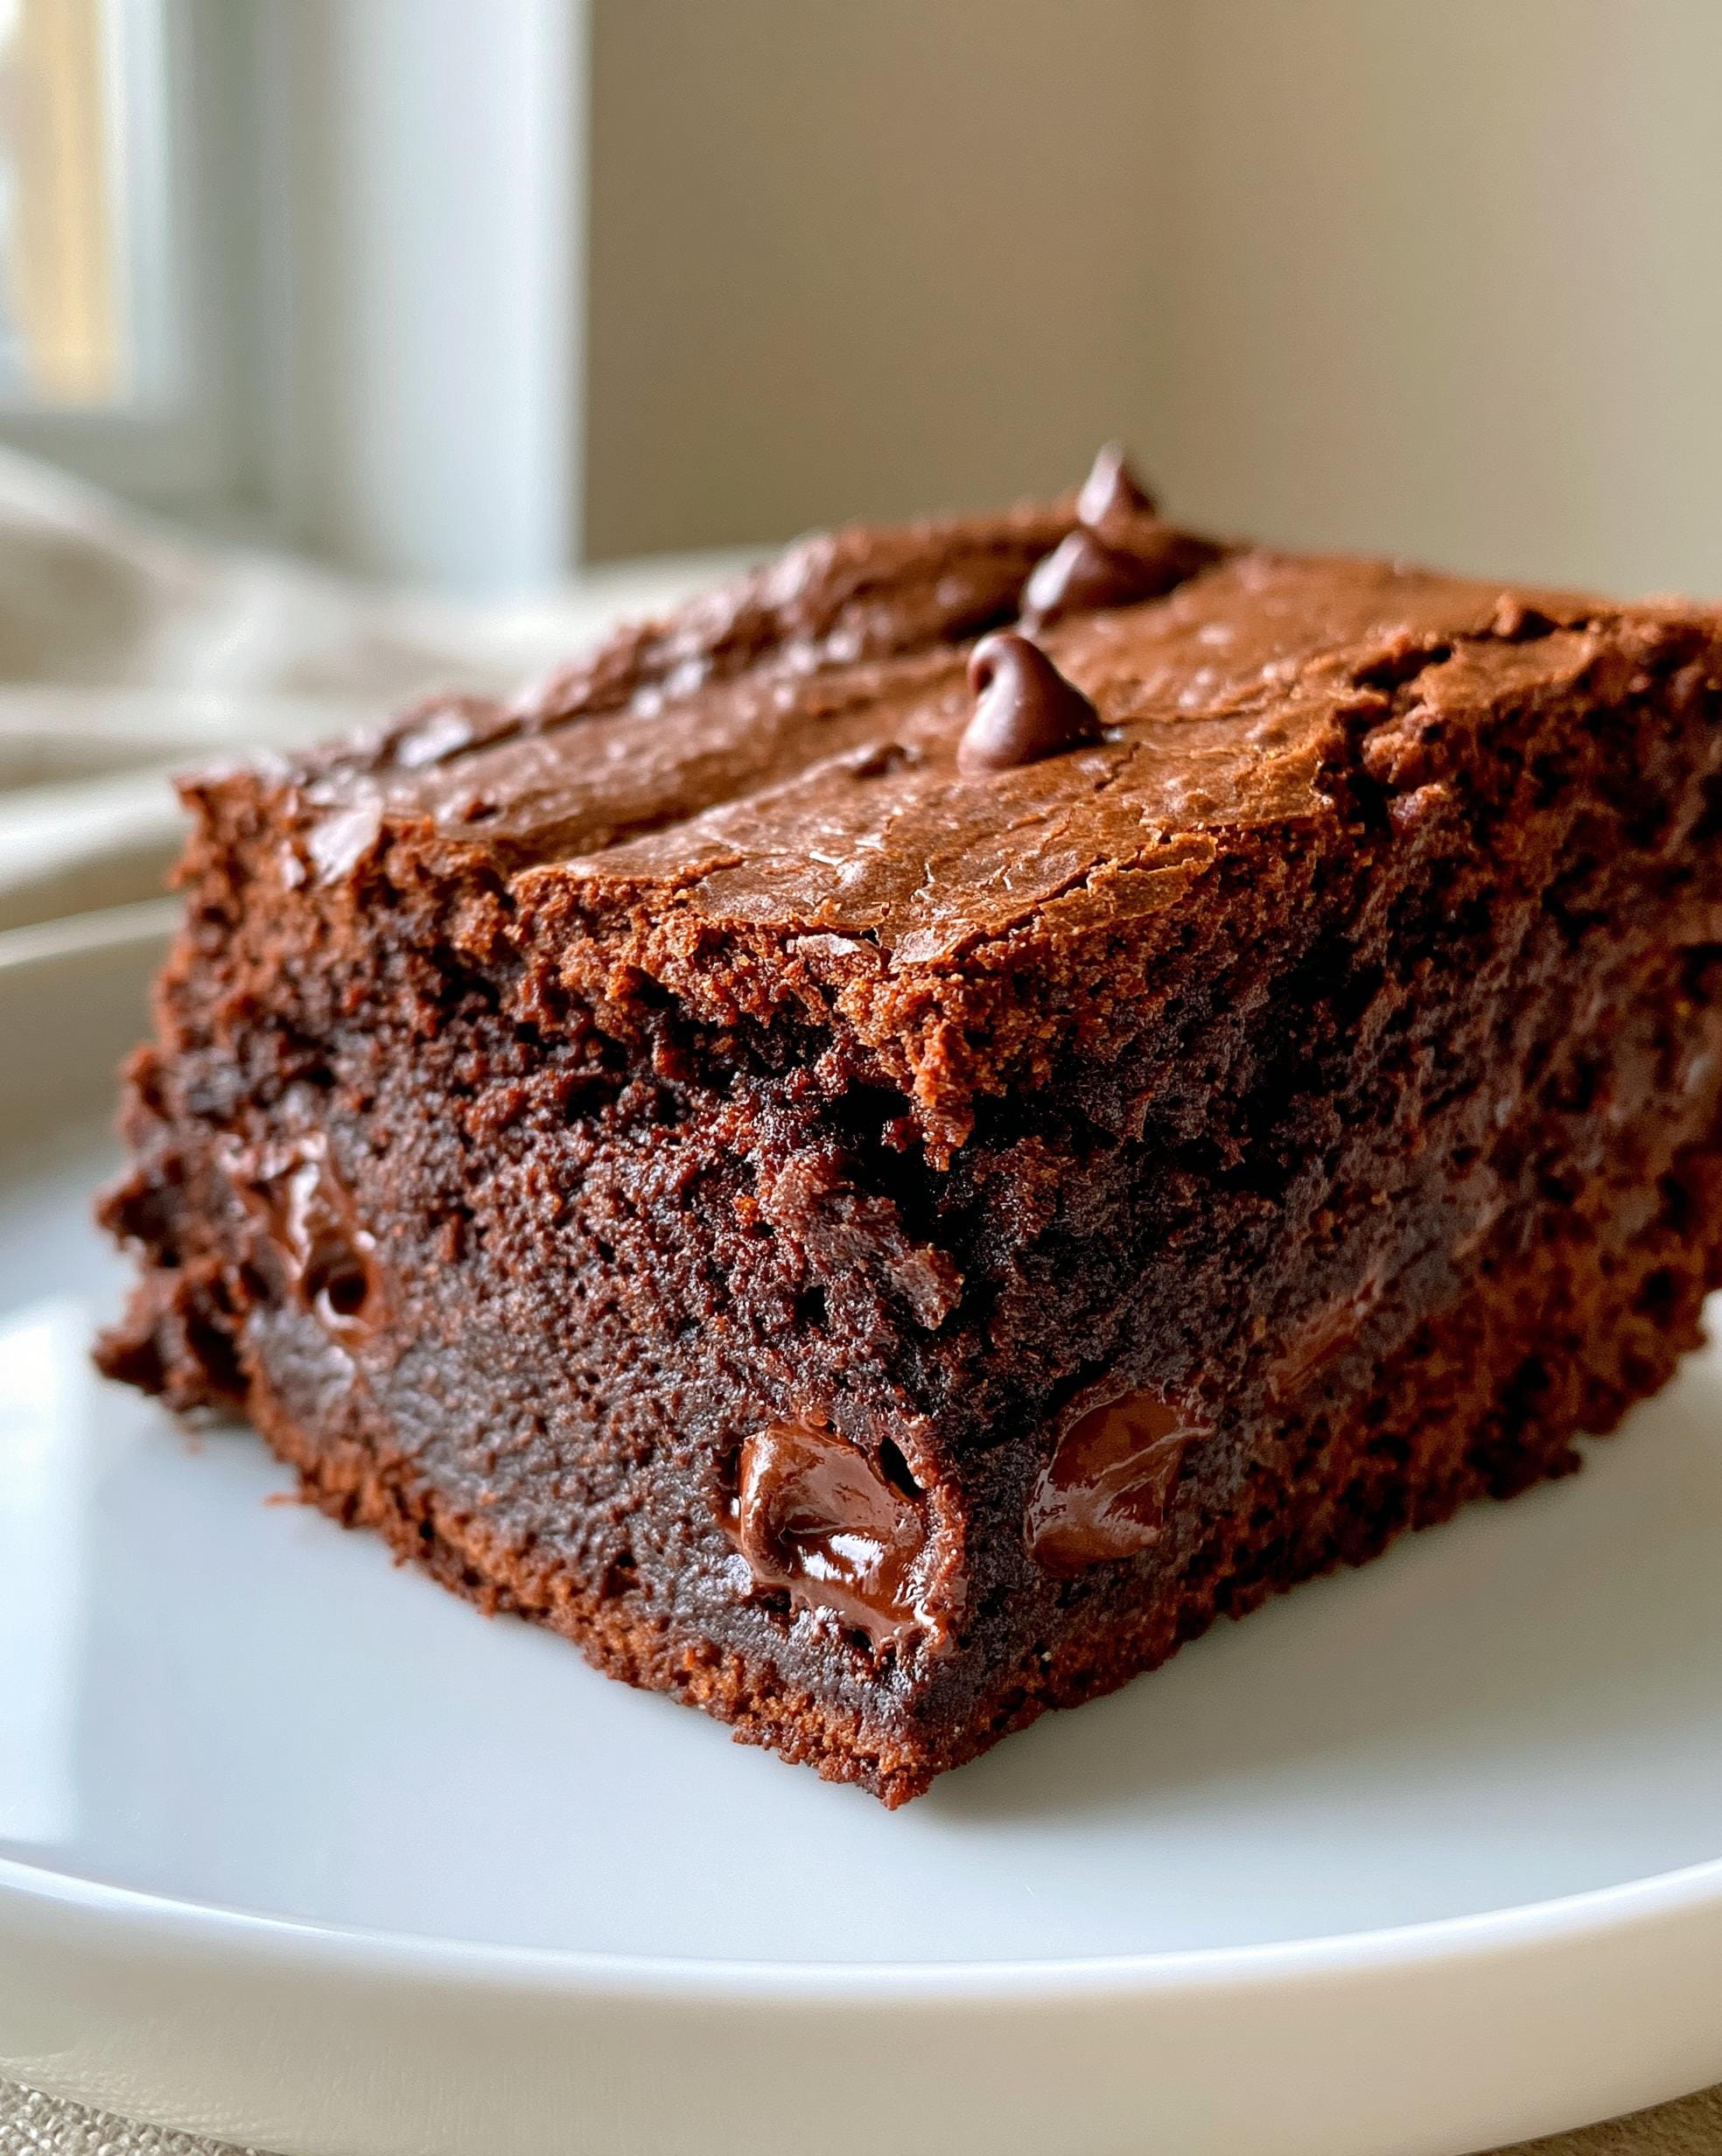
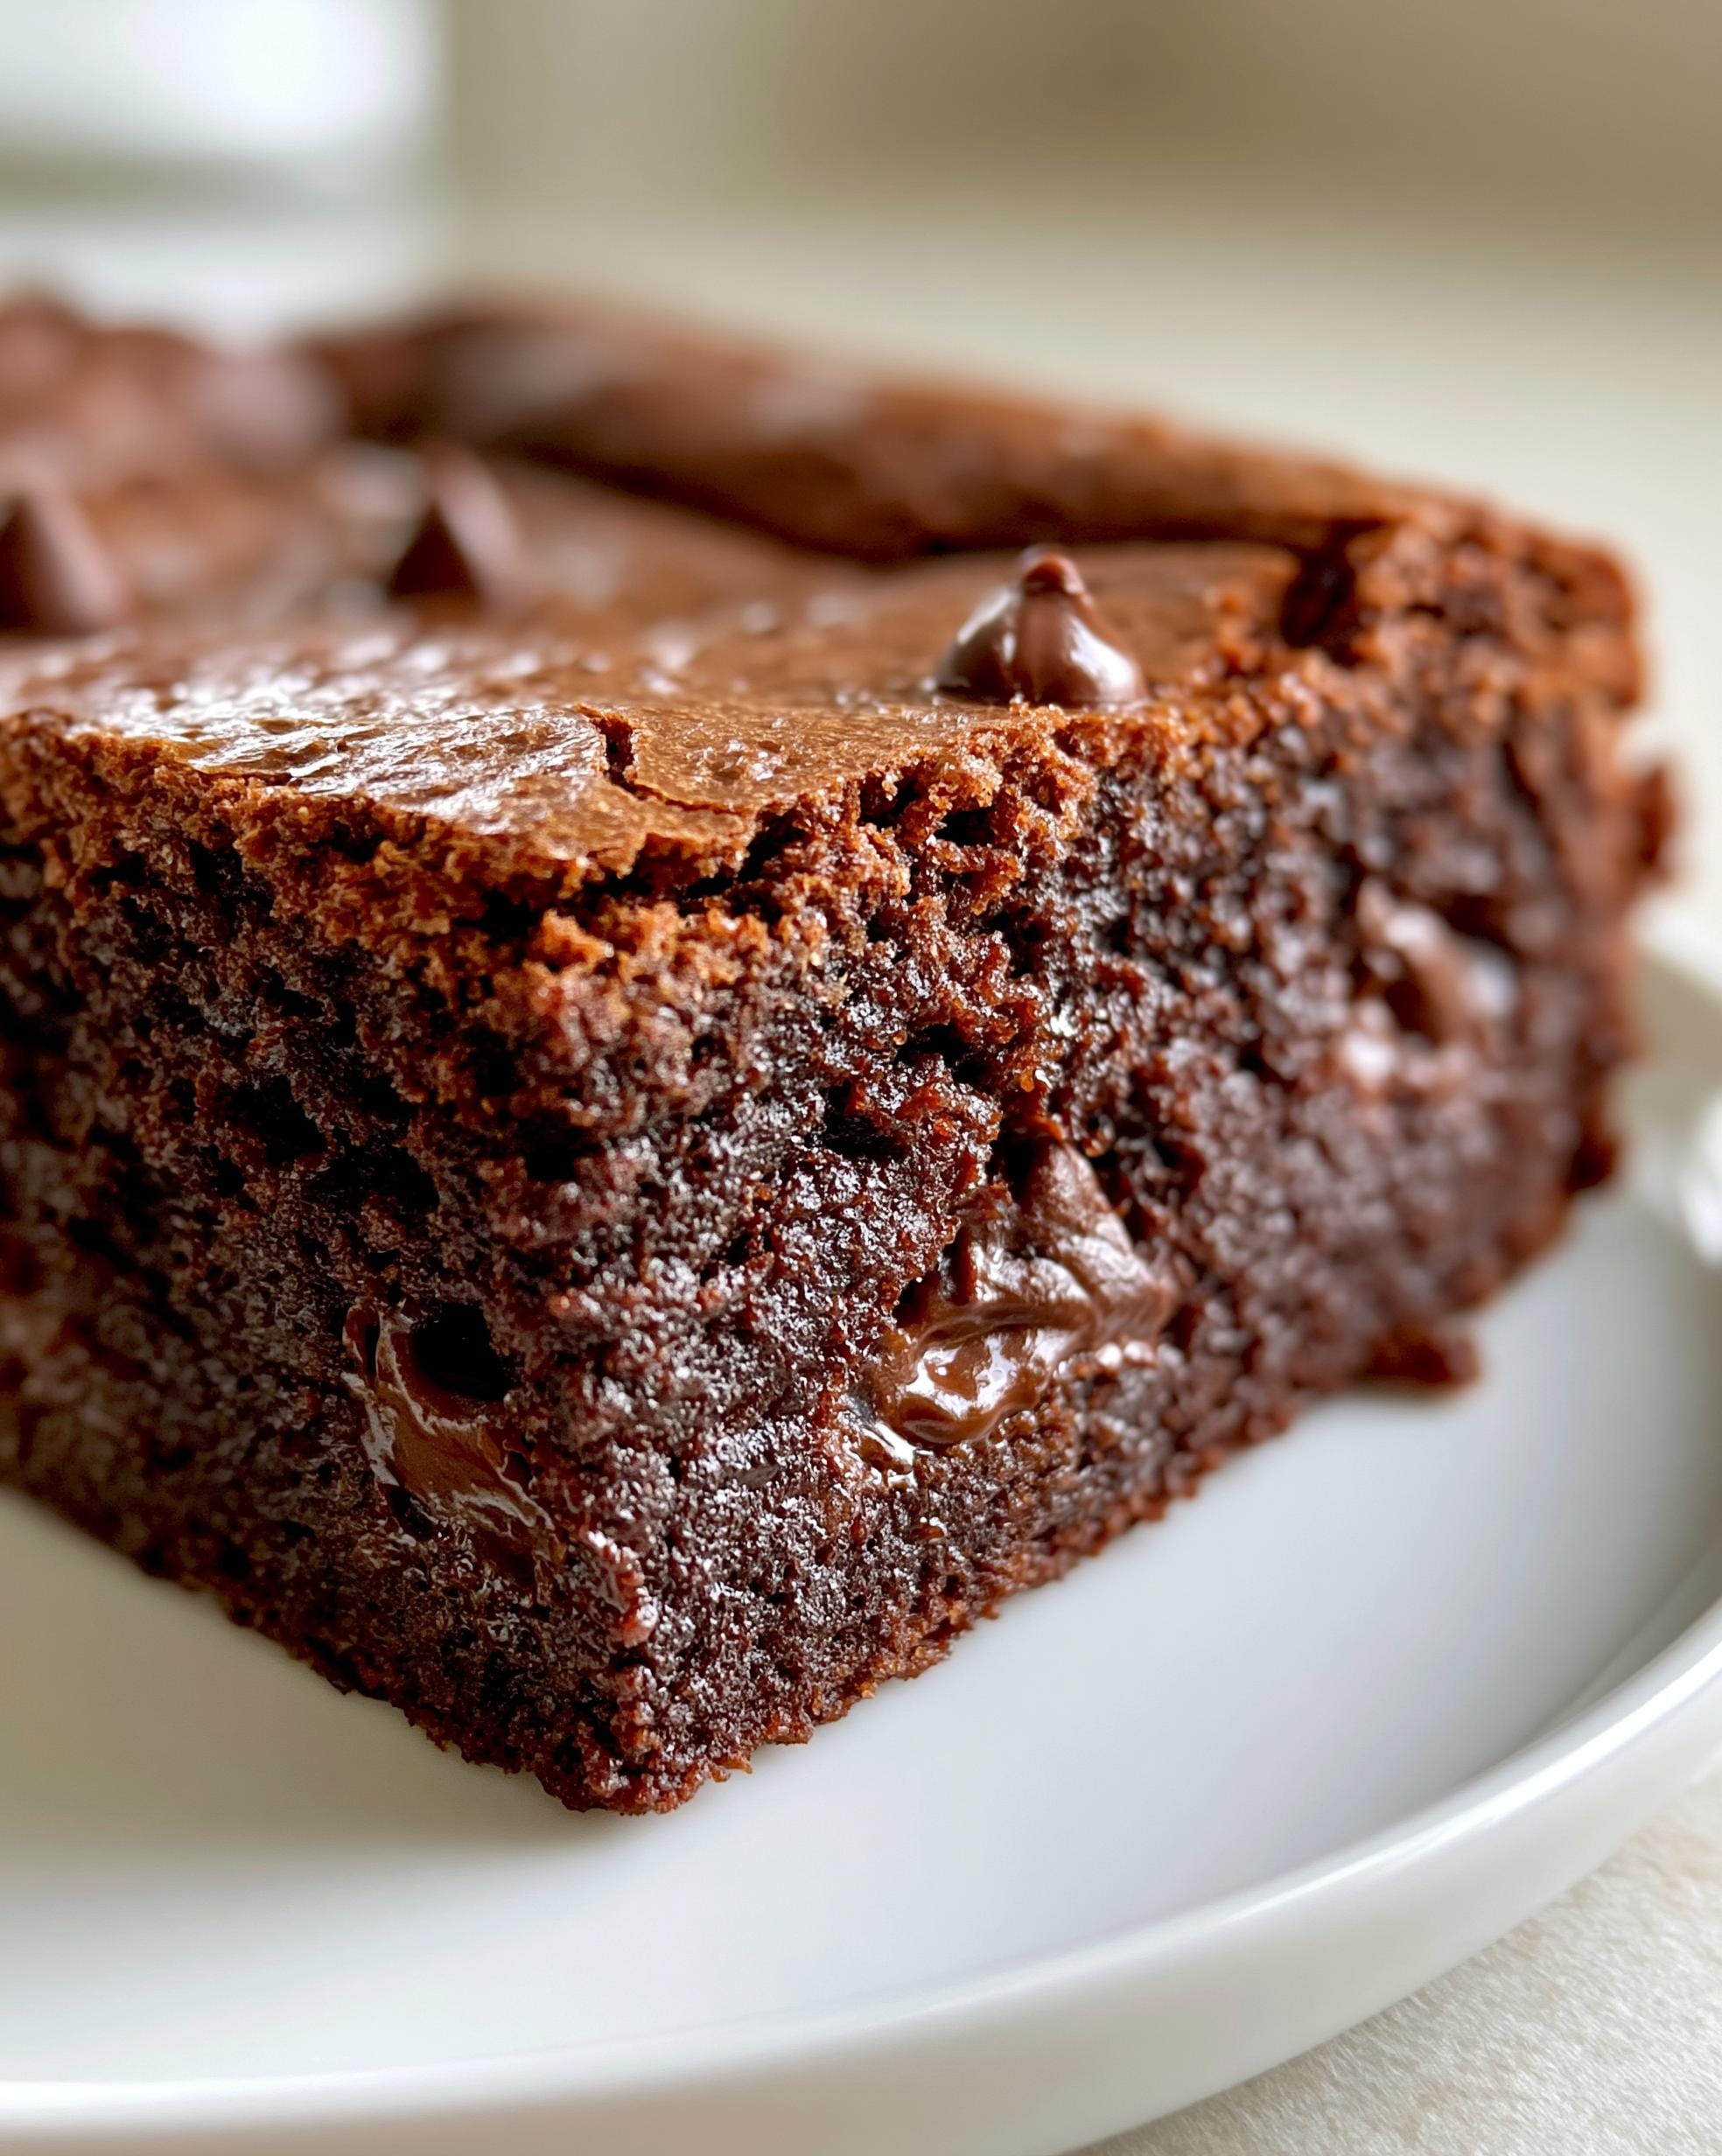
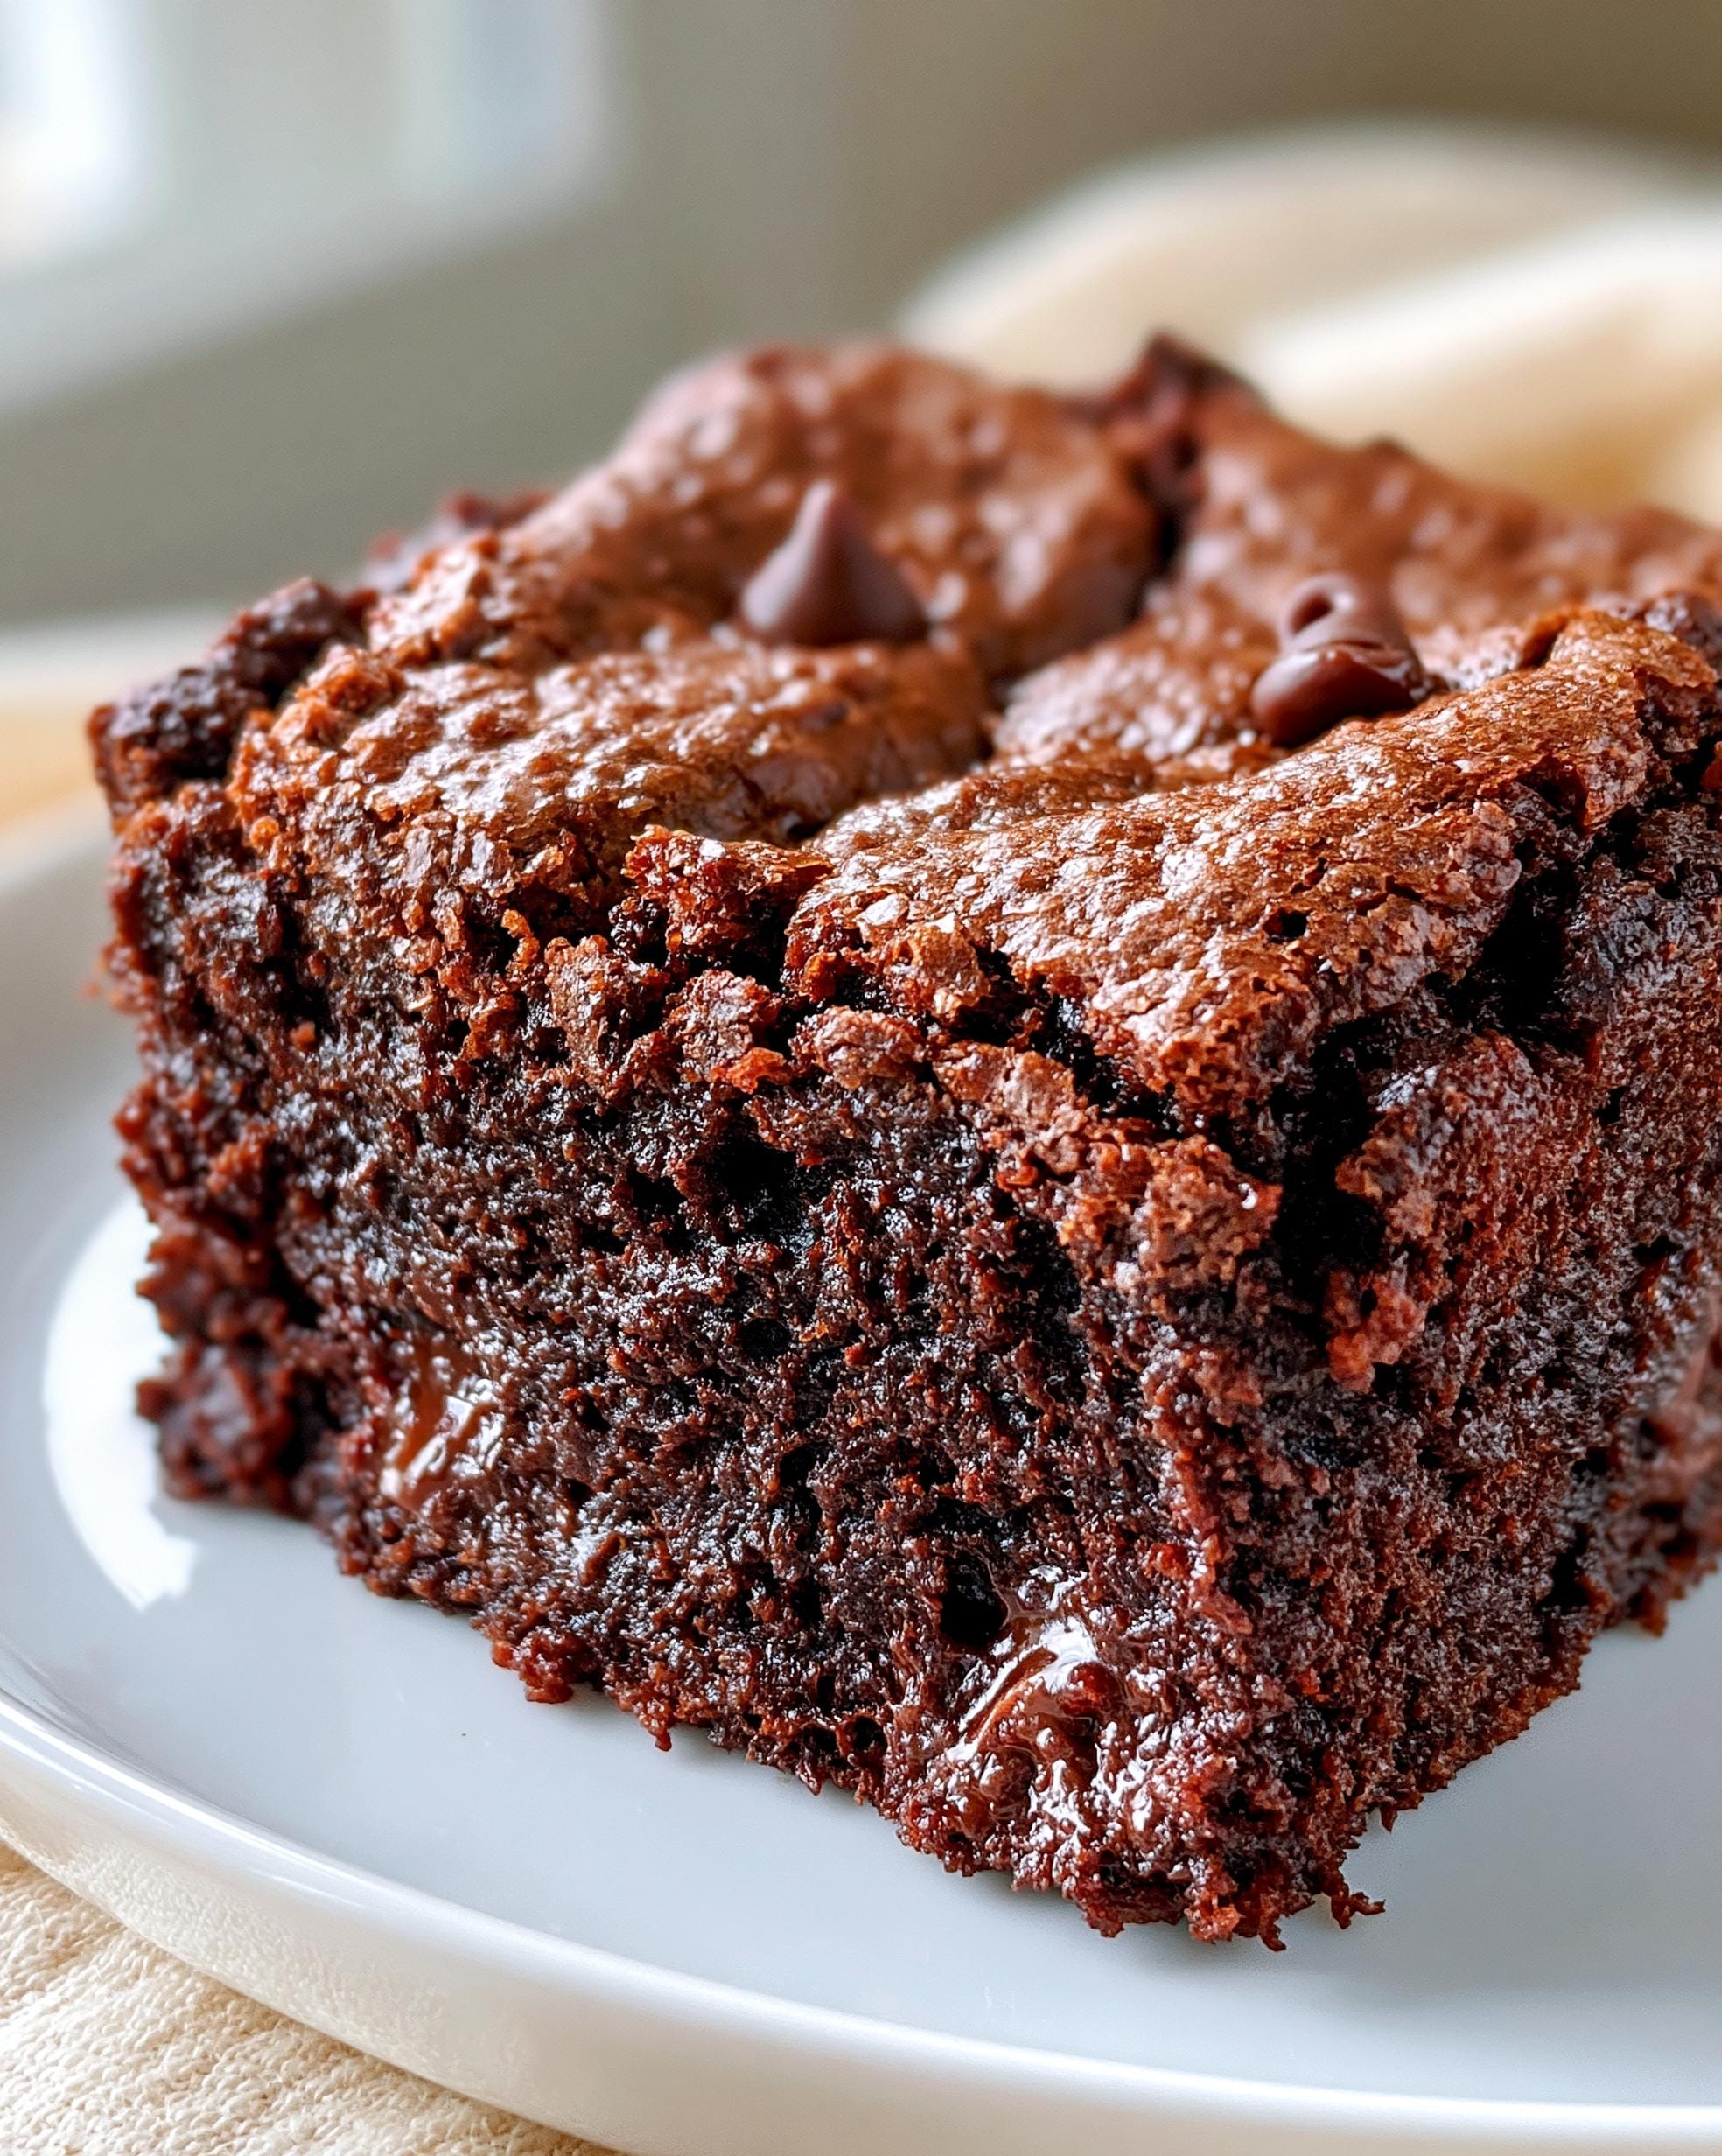
- Unbelievably Fudgy Texture: Thanks to the Greek yogurt, these brownies stay super moist and dense, just like a classic box-mix brownie. That dry, cakey protein bar texture? Gone. You get a rich, chocolatey bite every single time.
- A Serious Protein Punch: Each square packs about 8 grams of protein! It comes from the Greek yogurt and the protein powder, making these perfect for a post-workout treat or a snack that actually keeps you full. You can check out my other Greek yogurt recipes for more high-protein ideas.
- Ready in Under 10 Minutes (Prep Time!): Seriously, you just mix everything in one bowl. No fancy techniques, no creaming butter and sugar. If you can whisk, you can make these. From craving to baking in less time than it takes to find your keys.
- Simple, Clean Ingredients: I’m talking about stuff you probably already have: eggs, honey, cocoa powder, oat flour. No weird binders or hard-to-find health food store items. It’s just honest, good food that happens to be amazing for you.
- They Actually Satisfy the Craving: This is the big one for me. You won’t eat one and then rummage through the pantry for something else. That deep chocolate flavor and rich texture genuinely hit the spot, so you can enjoy dessert without the guilt or the sugar crash later.
Ingredients for Perfect Protein Brownies
Gathering everything is the easiest part! The magic of this recipe is how simple the ingredient list is. My one big piece of advice? Spend a minute finding a chocolate protein powder you actually like to drink. If it tastes chalky or artificial in the shaker, it’ll shine through in the brownies. I prefer a whey-cocoa blend for the best flavor and texture.
- For the Wet Ingredients:
- 1 cup plain Greek yogurt
- 2 large eggs
- 1/4 cup honey
- 1 teaspoon vanilla extract
- For the Dry Ingredients:
- 1/2 cup chocolate protein powder
- 1/3 cup unsweetened cocoa powder
- 1/2 cup oat flour
- 1 teaspoon baking powder
- 1/4 teaspoon kosher salt
- For the Mix-ins:
- 1/3 cup mini chocolate chips
How to Make Protein Brownies Step-by-Step
Don’t be intimidated – this is a one-bowl wonder! The most important thing is to not over-mix the batter once you add the dry ingredients. A few lumps are totally fine. Just trust the process. Oh, and preheat that oven right away. It’s the secret to perfect, fudgy dessert bars every single time.
Step 1: First thing’s first, get that oven going! Preheat it to 350°F. While it’s warming up, grab your 8×8-inch pan and line it with a sheet of parchment paper. I just tear off a piece big enough to hang over the sides a little – it makes lifting the whole brownie slab out later an absolute dream. No parchment? A light spray of cooking oil works in a pinch, but parchment is my non-negotiable for easy cleanup.
Step \(|\): Now for the fun part. In your large mixing bowl, toss in the Greek yogurt, eggs, honey, and vanilla. Grab your whisk and go to town! You want to whisk it all together until it’s completely smooth and creamy. This usually takes me about a minute of good, enthusiastic stirring. No need for a mixer here, your arm power is perfect.
Step 3: Okay, here’s where things get thick. Dump all your dry ingredients right into the same bowl: the chocolate protein powder, cocoa powder, oat flour, baking powder, and salt. I like to give them a quick stir with a fork before I add them, just to make sure the baking powder is evenly distributed. Now, switch to a sturdy spatula or spoon and stir. The batter will get really thick and almost like a dense brownie dough – this is exactly what you want! Don’t panic and don’t add liquid. Just fold and stir until you don’t see any big pockets of dry flour.
Step 4: Time for the best part! Sprinkle in those mini chocolate chips. Gently fold them into the thick batter until they’re scattered throughout. I sometimes save a small handful to sprinkle on top right before baking for a pretty finish, but that’s totally optional.
Step 5: Scoop the batter into your prepared pan. It’s thick, so you’ll need to spread it out evenly with your spatula, pushing it into all the corners. Get it as level as you can for even baking.
Step 6: Pop the pan into your preheated oven. Now, the magic happens! Bake for 20 to 24 minutes. This is the critical window. You’re looking for the center to look set, not jiggly, and the edges to be just pulling away from the pan. The real test? Stick a toothpick into the center. It should come out with a few moist crumbs clinging to it, not completely clean. If it’s clean, they’re overdone. For super fudgy brownies, lean toward the 20-22 minute mark.
Step 7: This is the hardest step, but it’ s non-negotiable. Take the pan out and let it cool completely on a wire rack. I know, the smell is incredible and you want to dive right in. But if you try to cut them while they’re warm, they’ll just fall apart and be a gooey mess. Letting them cool is what gives them that perfect, sliceable, fudgy texture. I usually wait at least an hour before I even think about slicing them into 12 perfect squares.
Storing and Reheating Your Protein Brownies
Here’s the best part about these brownies – they hold up incredibly well! My kids have been known to sneak them from the fridge for days after I bake a batch, and they’re still perfect. A couple of simple tricks keep them tasting fresh.
For short-term storage, just keep them in an airtight container at room temperature. They’ll stay fudgy and delicious for about 2 days. If you’re like me and want them to last the whole week, pop the container in the fridge. They’ll be good for up to 5 days that way. The cool temperature actually makes them even denser and richer, which I love.
When you’re ready for a warm, gooey treat, reheating is a snap. Just place a single brownie on a microwave-safe plate and heat it for 15-20 seconds. That’s it! It brings back that fresh-from-the-oven warmth and makes the chocolate chips soft again. Be careful not to overdo it, or they can get a bit tough.
My favorite meal prep trick? Freezing them! Wrap each brownie individually in a little plastic wrap or parchment, then toss them all into a big freezer bag. They’ll keep for a solid 2-3 months. When a craving hits, just take one out and let it thaw on the counter for an hour, or give it a quick 30-second zap in the microwave. It’s like having a healthy dessert on demand, and it’s saved me from so many late-night drive-thru runs.
Protein Brownies FAQ
I get a lot of the same questions whenever I share this recipe! Here are the quick answers to the ones that pop up most often.
Can I use a different type of protein powder?
Absolutely! I’ve had great success with vanilla whey protein powder, though you might want to add an extra tablespoon of cocoa powder. Just make sure it’s a powder you enjoy the taste of on its own, because that flavor comes through. Plant-based powders like pea or brown rice protein work too, but they can make the texture a bit more crumbly.
Can I make these gluten-free?
Yes, and they’re already super close! The oat flour is naturally gluten-free, but you have to make sure you buy a brand that’s certified gluten-free, as regular oats are often processed in facilities with wheat. That one simple swap is all you need for perfect gluten-free protein brownies.
Why are my brownies dry?
Oh, I’ve been there! The number one culprit is overbaking. Remember, you want that toothpick to come out with a few sticky crumbs, not clean. Also, make sure you’re measuring your oat flour correctly—don’t pack it into the cup, just spoon it in lightly and level it off. Over-measuring the dry ingredients is a classic way to end up with a dry batch.
Nutrition Information for Protein Brownies
Okay, full transparency: I’m a home cook, not a lab! So please take these numbers as a friendly, estimated guide from one chocolate lover to another. They’re based on the specific ingredients I use and how I slice my batch. Your exact brand of protein powder or yogurt might tweak things a little bit!
Here’s a breakdown of the estimated nutritional value per brownie (when you slice the pan into 12 squares):
- Calories: About 110
- Protein: 8 grams (This is the star of the show! Mostly from the Greek yogurt and protein powder.)
- Carbohydrates: 11 grams
- Fat: 4 grams
- Fiber: 2 grams
- Sugar: 6 grams (Mostly from the honey and a bit from the chocolate chips.)
- Sodium: 90 mg
Remember, these are just estimates to help you fit these tasty treats into your day. The best part? You’re getting a serious dose of protein alongside your chocolate fix, which makes these a much smarter choice than your average bakery brownie.
Before You Go
I really hope you give this recipe a whirl. It’s become my go-to for sharing a little healthy joy. If you make them, please let me know how they turn out! You can tag me on Facebook—I love seeing your kitchen creations almost as much as I love eating these brownies.
Protein Brownies
Ingredients
Equipment
Method
- Preheat the oven to 350°F.
- Line an 8 x 8-inch baking pan with parchment paper.
- In a large mixing bowl, whisk together the Greek yogurt, eggs, honey, and vanilla extract until smooth.
- Add the protein powder, cocoa powder, oat flour, baking powder, and salt. Stir until a thick batter forms.
- Fold in the chocolate chips.
- Spread the batter evenly into the prepared baking pan.
- Bake for 20 to 24 minutes until the center is set and a toothpick inserted near the center comes out with a few moist crumbs.
- Allow the brownies to cool completely before slicing into 12 squares.