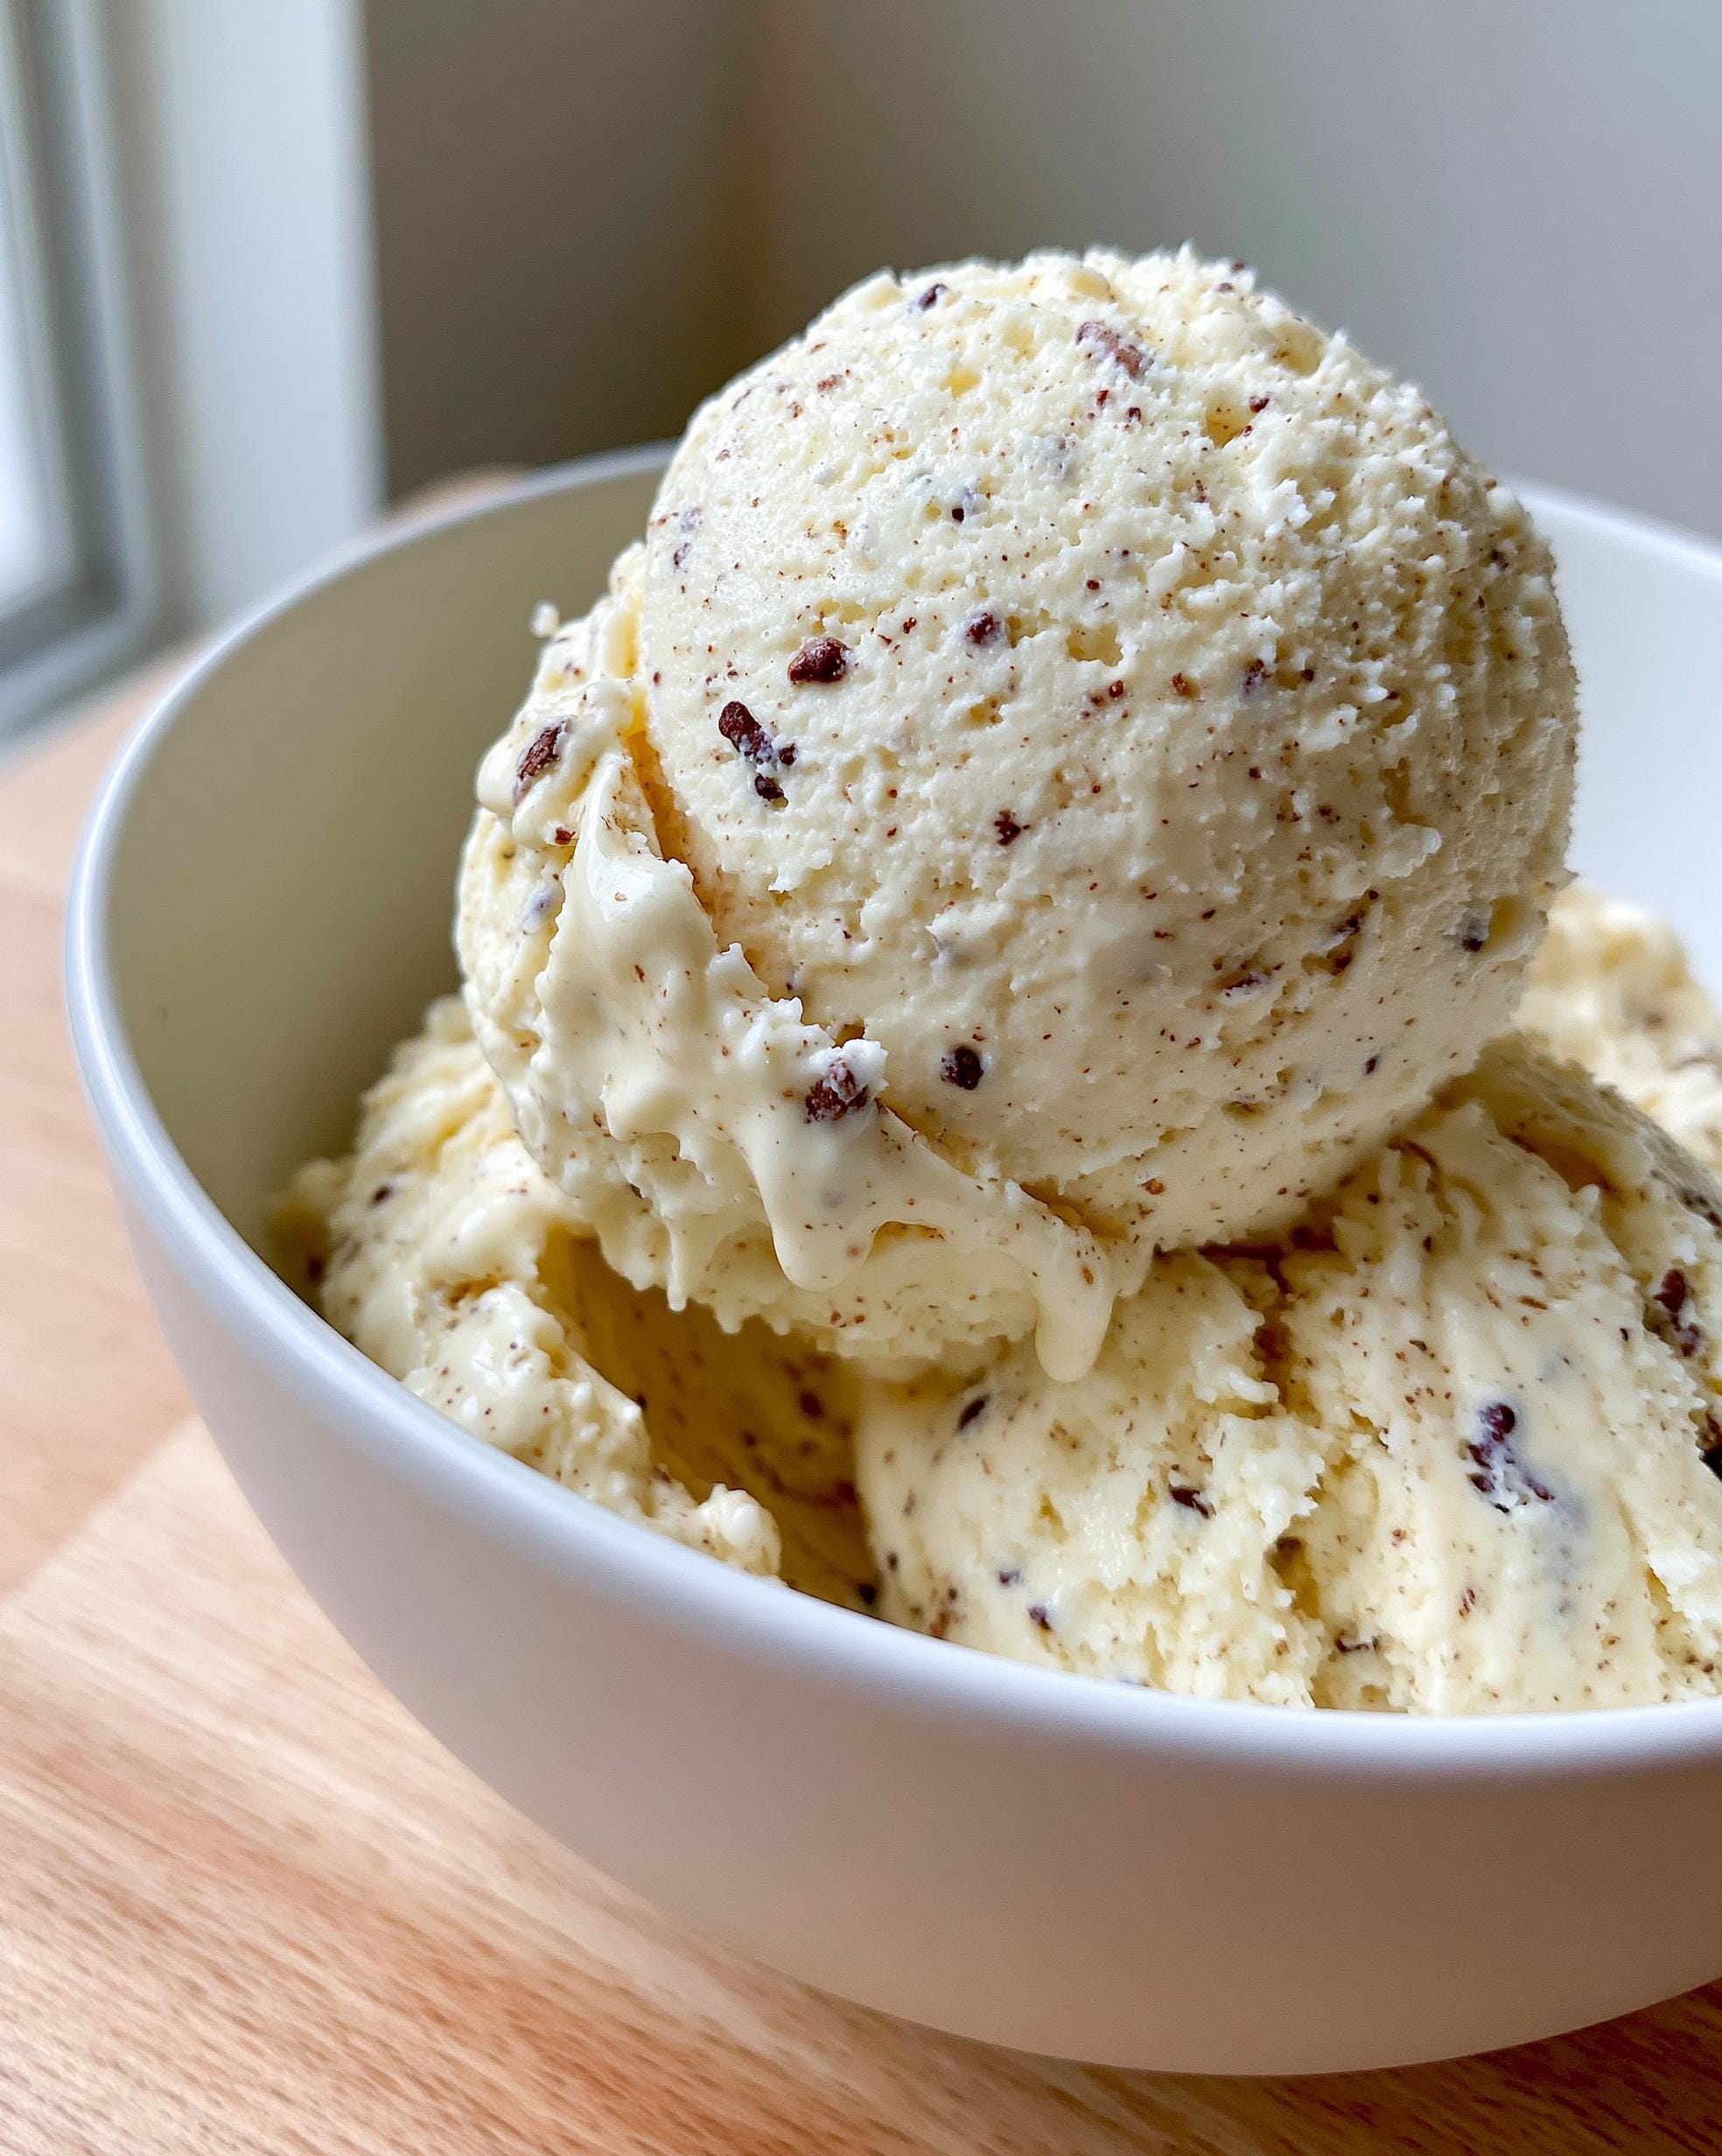
Okay, let’s be real. Who hasn’t craved a big bowl of creamy ice cream right after a workout, but felt a little guilty thinking about all the sugar and empty calories? I was right there with you, until I finally nailed down this recipe. My obsession with Protein Ice Cream started last summer when I was trying to find something that actually satisfied my sweet tooth *and* helped me hit my protein goals without tasting like chalk. I was experimenting with my favorite Greek yogurt brownies and some leftover cottage cheese egg bites and had a total lightbulb moment. This version is the answer: unbelievably rich and creamy, packed with protein, and you don’t need any fancy ice cream maker. It’s become my go-to for a legit treat that doesn’t derail my week.
Why You’ll Love This Protein Ice Cream Recipe
Honestly, this recipe is a game changer. It’s the one I make when I want dessert to feel like a treat, not a chore, and it always hits the spot.
First, let’s talk protein. Each creamy scoop packs in 18 grams, which is crazy for something that tastes this indulgent. It’s perfect for refueling after a workout or just keeping you full and satisfied. You won’t find any weird, artificial stuff here either—just simple ingredients like cottage cheese and Greek yogurt that you can feel good about.
The best part? No ice cream maker. I don’t have space for another gadget, and I bet you don’t either. You just need a blender and about 10 minutes of hands-on time. Throw everything in, blend until it’s silky smooth, and you’re done. It’s so much easier than churning.
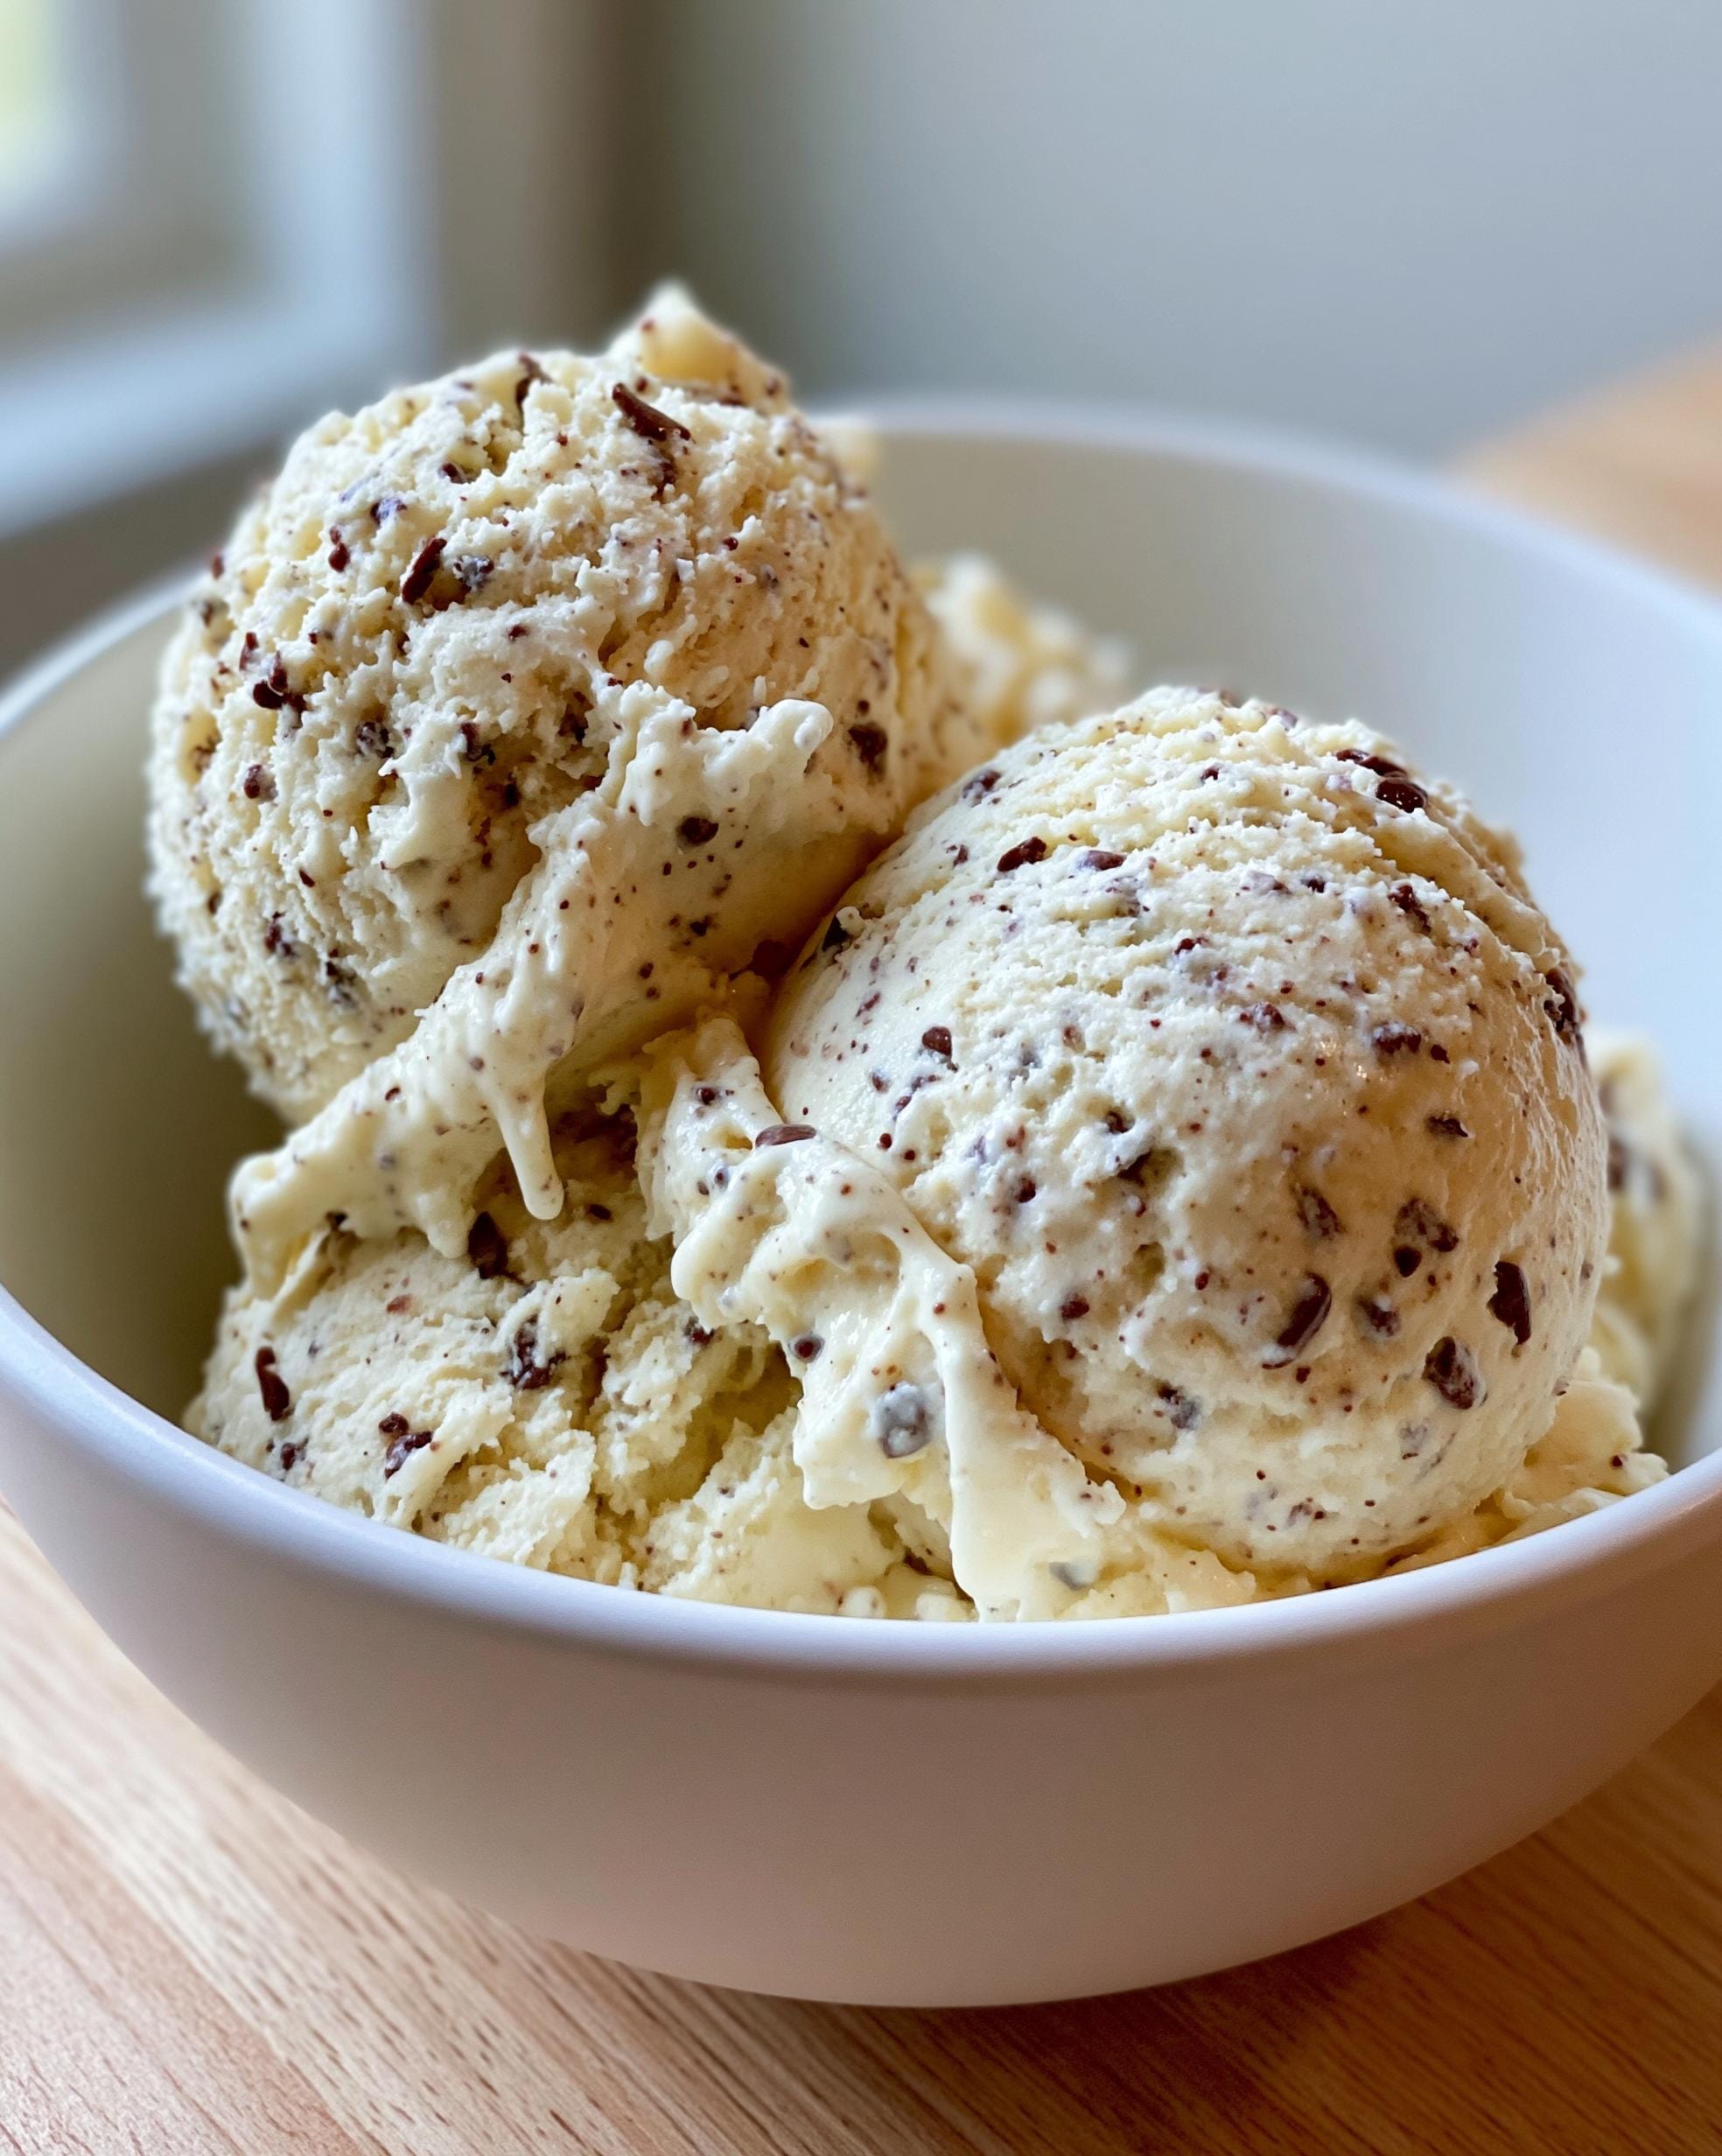
And the flavor possibilities are endless. I started with vanilla and chocolate chips, but you can swirl in peanut butter, mix in frozen berries, or even blend in a scoop of my cottage cheese banana pudding for a bananas foster vibe. It’s your perfect, customizable frozen treat.
Protein Ice Cream Ingredients
You really can’t mess this up, I promise. Just make sure everything is nice and cold before you start blending. That’s my secret for getting that super creamy, not-icy texture right from the start.
- 1 1/2 cups low-fat cottage cheese (it has to be cold, straight from the fridge)
- 1 cup plain Greek yogurt (I use 2% or full fat for extra creaminess)
- 1/2 cup vanilla protein powder (the regular scoopable kind, not a drink mix)
- 3 tablespoons honey (or pure maple syrup works great too)
- 1 teaspoon vanilla extract (the real stuff makes a difference, trust me)
- 2 tablespoons milk (any kind, just to help the blender get things moving)
- 1/4 cup mini chocolate chips (optional, but they add that perfect little crunch)
How to Make Protein Ice Cream
Okay, this is the fun part! It’s so simple, but I have one major tip: don’t skimp on the blending time. That’s the secret to getting rid of the cottage cheese texture and making it super silky.
Step 1: Grab your blender and toss in the cottage cheese, Greek yogurt, vanilla protein powder, honey, vanilla extract, and milk. I like to start with the wetter ingredients at the bottom to help everything blend easier. Pop the lid on tight!
Step 2: Now, blend! Start on low, then crank it up to high and let it run for a full 1 to 2 minutes. Seriously, don’t stop early. You want to look in there and see a completely smooth, creamy mixture with absolutely zero little cottage cheese curds hanging around. That’s when you know it’s perfect. If you need a visual, I show this exact technique in my blending videos.
Step 3: Pour your beautiful, creamy mixture into a large bowl. Gently fold in the mini chocolate chips with a spatula. This just gives you those little pockets of chocolate in every bite without breaking them all up in the blender.
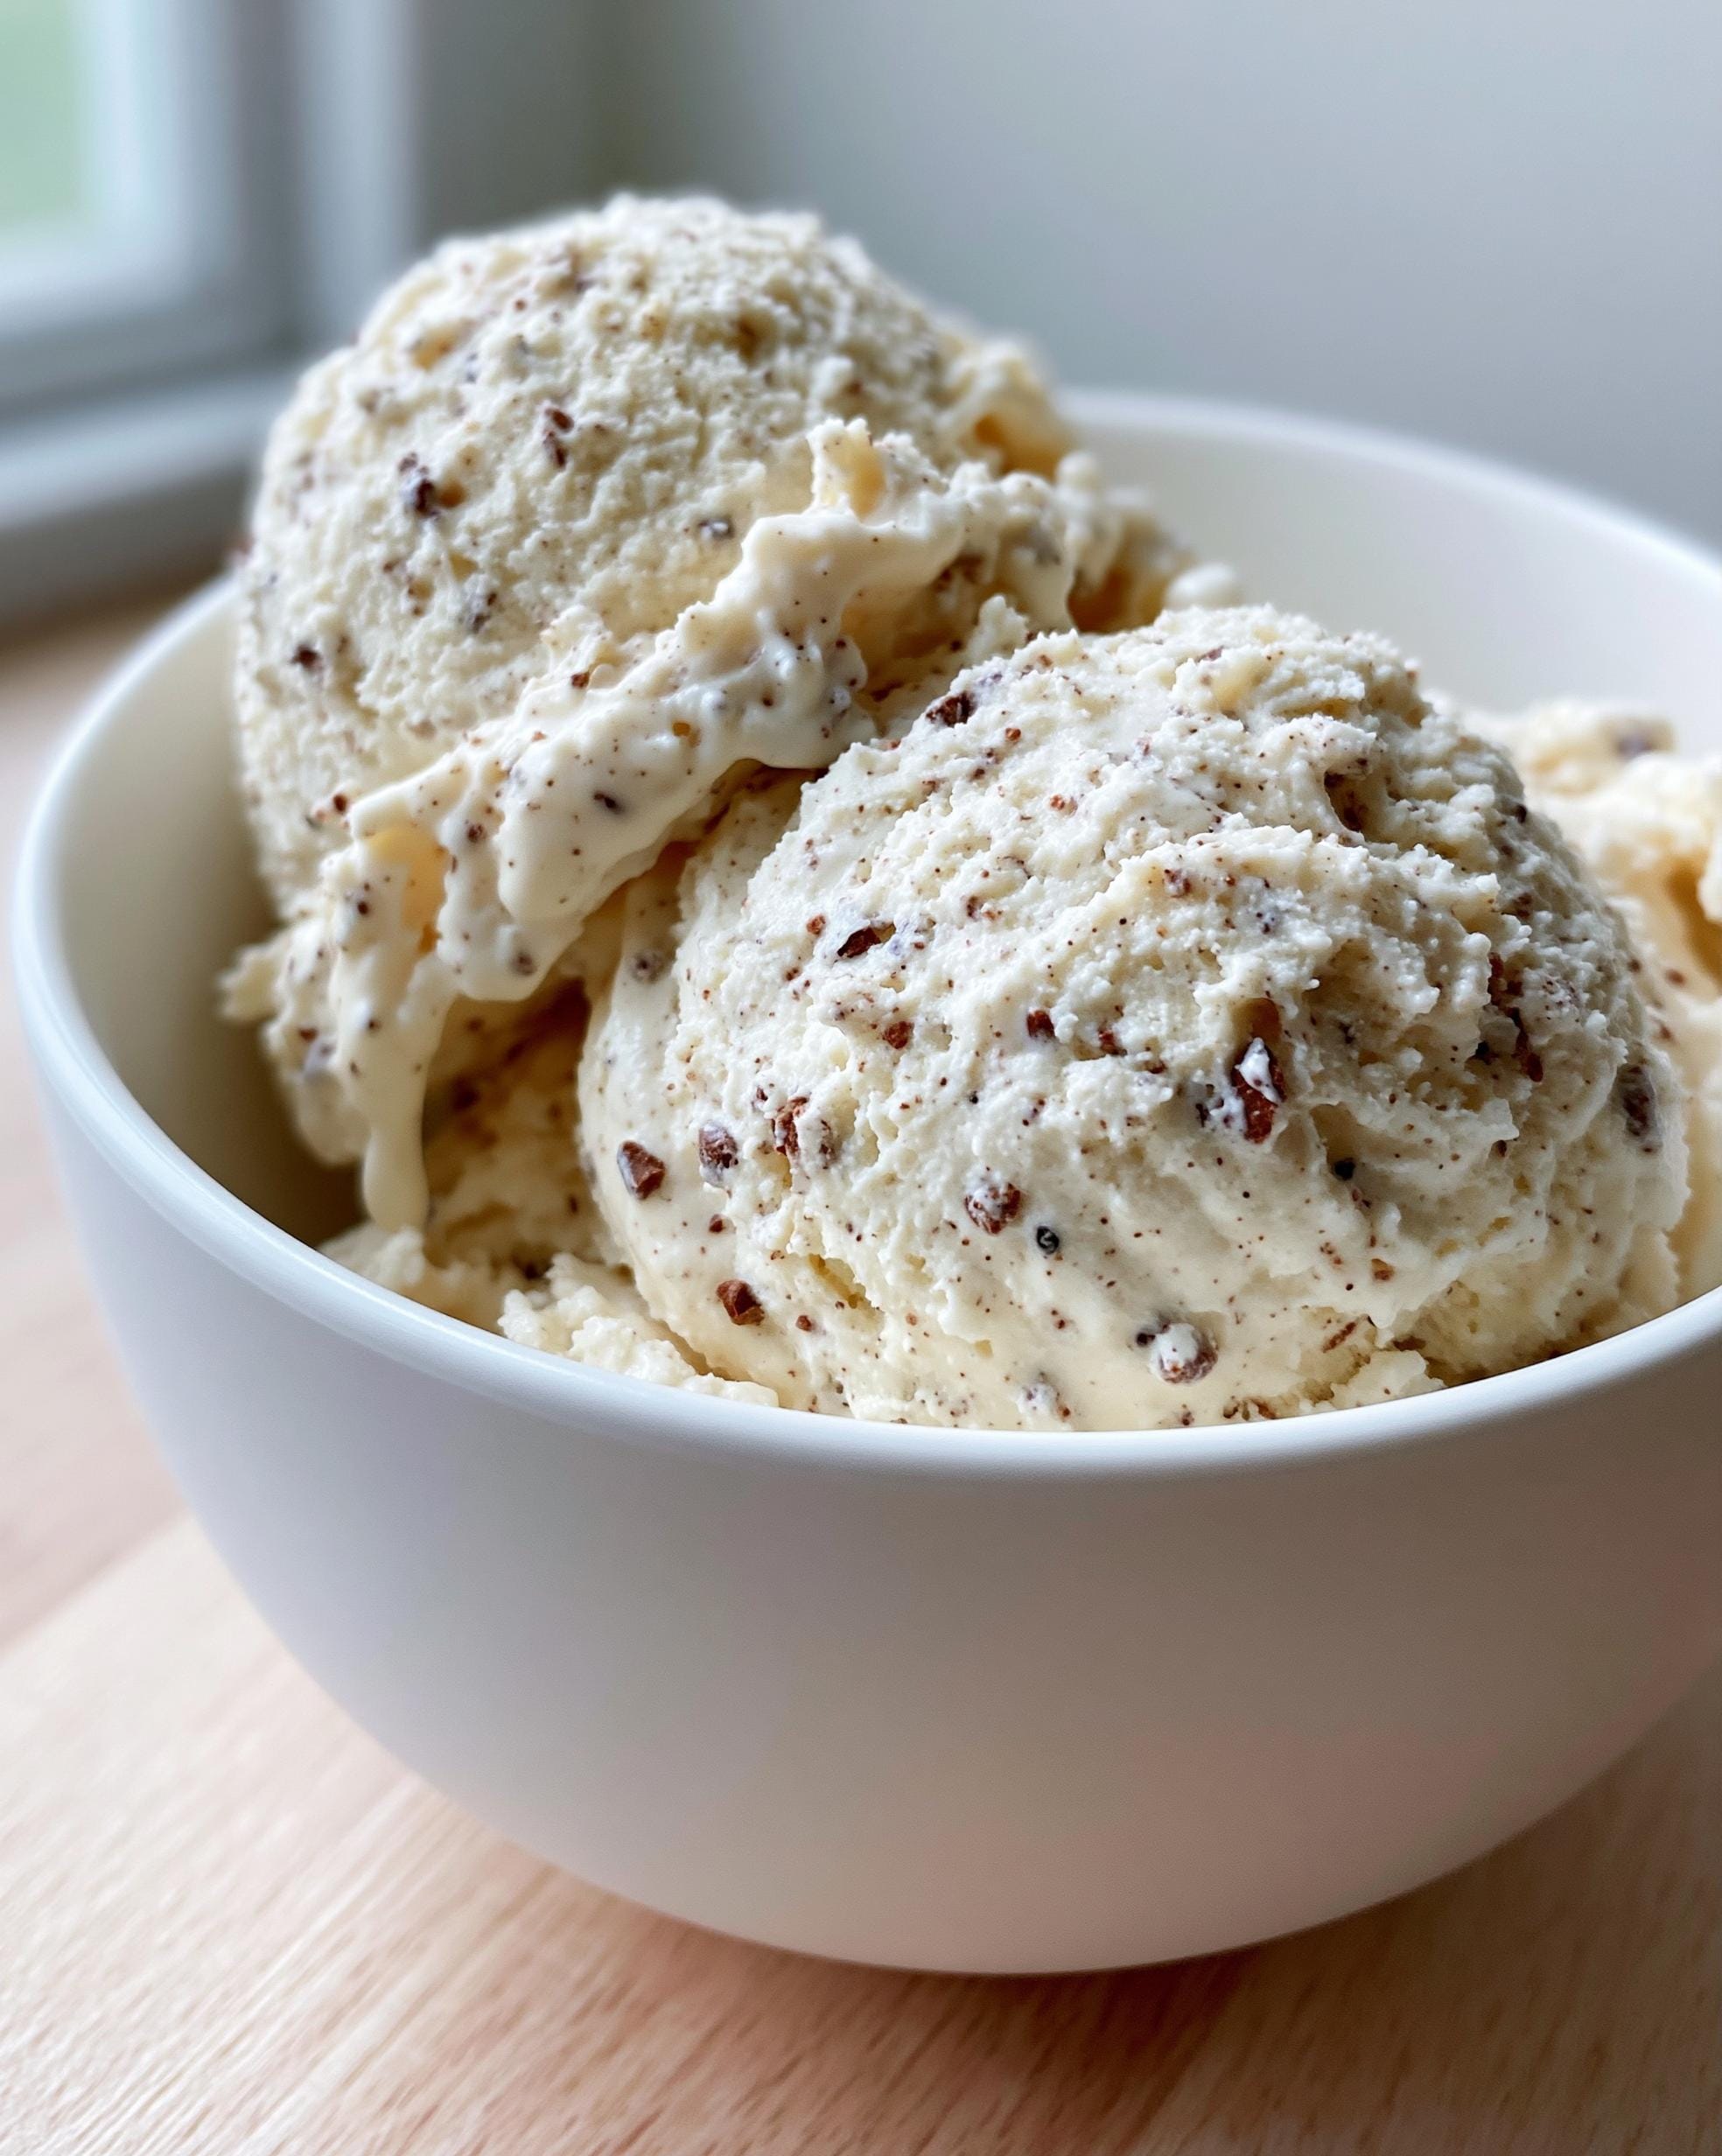
Step 4: Transfer everything to a freezer-safe container with a lid. A loaf pan or a simple Tupperware works great. Smooth the top with your spatula, pop the lid on, and slide it into the freezer.
Step 5: Here’s the key for that perfect, scoopable texture: after about 90 minutes, take it out and give it a really good stir. This breaks up any ice crystals that are starting to form. Then, pop it back in to finish freezing for another 1.5 to 2.5 hours (so 3 to 4 hours total).
Step 6: When you’re ready to serve, take the container out and let it sit on the counter for 5 to 10 minutes. This softens it up just enough to get a perfect scoop that doesn’t bend your spoon. Then, dig in!
Tips for the Best Protein Ice Cream
These little tricks are what took my ice cream from “pretty good” to “oh wow, I need another scoop” status. They’re super simple but make all the difference.
First, don’t rush the blend. I know I sound like a broken record, but letting that blender run for a full two minutes is the only way to get that ultra-smooth, creamy base with no weird cottage cheese texture. If you think it’s done, blend for another 30 seconds. It’s worth it, I promise!
Play with your flavors! Vanilla protein powder is my go-to, but a chocolate or even a cake batter flavor works amazingly. Swap the honey for pure maple syrup if you like, or mix in some of the filling from my blueberry cottage cheese breakfast bake for a fruity twist. That mid-freeze stir is non-negotiable for creamy, not icy, results. If you forget and freeze it overnight solid, just let it thaw on the counter for 15-20 minutes before scooping.
Protein Ice Cream Storage and Reheating
This stuff is perfect for making ahead! I always double the batch so I have a stash ready for any sweet tooth emergency.
For storage, just keep it in its freezer-safe container with a tight-fitting lid. It won’t last long in the fridge (it’ll get too soft), but in the freezer it’s good for up to two weeks. Make sure the lid is on snug to keep any weird freezer burn flavors out.
When you’re ready for a scoop, don’t even think about microwaving it. Just pull the container out and let it sit on your counter for 5 to 10 minutes. That little warm-up makes it perfectly scoopable and creamy again. It’s the easiest meal prep dessert ever.
Protein Ice Cream Nutritional Information
I always like to be upfront about this stuff because I know how frustrating it can be when numbers don’t add up. The truth is, my cottage cheese might have slightly different macros than yours!
Just a quick heads-up: the nutritional info (like the 160 calories or 18g of protein per serving I mentioned) is always an estimate. It really depends on the exact brands of protein powder, yogurt, and cottage cheese you use, and how much honey you drizzle in. So, please use the calories, protein, carbs, fat, and sugar amounts as a general guide and calculate your own based on the products in your kitchen. It’s the only way to be sure!
Protein Ice Cream FAQs
I get asked these all the time, so I figured I’d just put the answers here. Trust me, I’ve made all the mistakes so you don’t have to!
Can I use a different type of protein powder?
Absolutely! I’ve tried a few. Vanilla or a plain, unflavored whey or casein powder works the best and gives you a nice neutral base to build other flavors on. If you use a chocolate or fruity powder, just know it will change the flavor (which can be awesome!). I’d stay away from plant-based powders that are really gritty or chalky, because they can mess with that silky-smooth texture we’re after.
Why did my ice cream turn out icy?
Oh no, the dreaded ice crystals! This usually happens for one of two reasons. First, you might not have blended it long enough. You really need to let that blender go until it’s completely, utterly smooth. The second culprit is skipping that mid-freeze stir. Giving it a good mix after about 90 minutes breaks up the ice crystals as they form. If you forget and it freezes solid, just let it thaw a bit longer before scooping.
Can I make this without cottage cheese?
I wouldn’t recommend it, honestly. The cottage cheese is the secret weapon here. It’s what gives this high protein dessert its incredible creaminess and a huge boost of protein without a strong flavor. If you leave it out, you’ll lose that rich body and a lot of the protein. If you can’t have dairy, a thicker vegan yogurt might work in a pinch, but the texture and protein will be totally different.
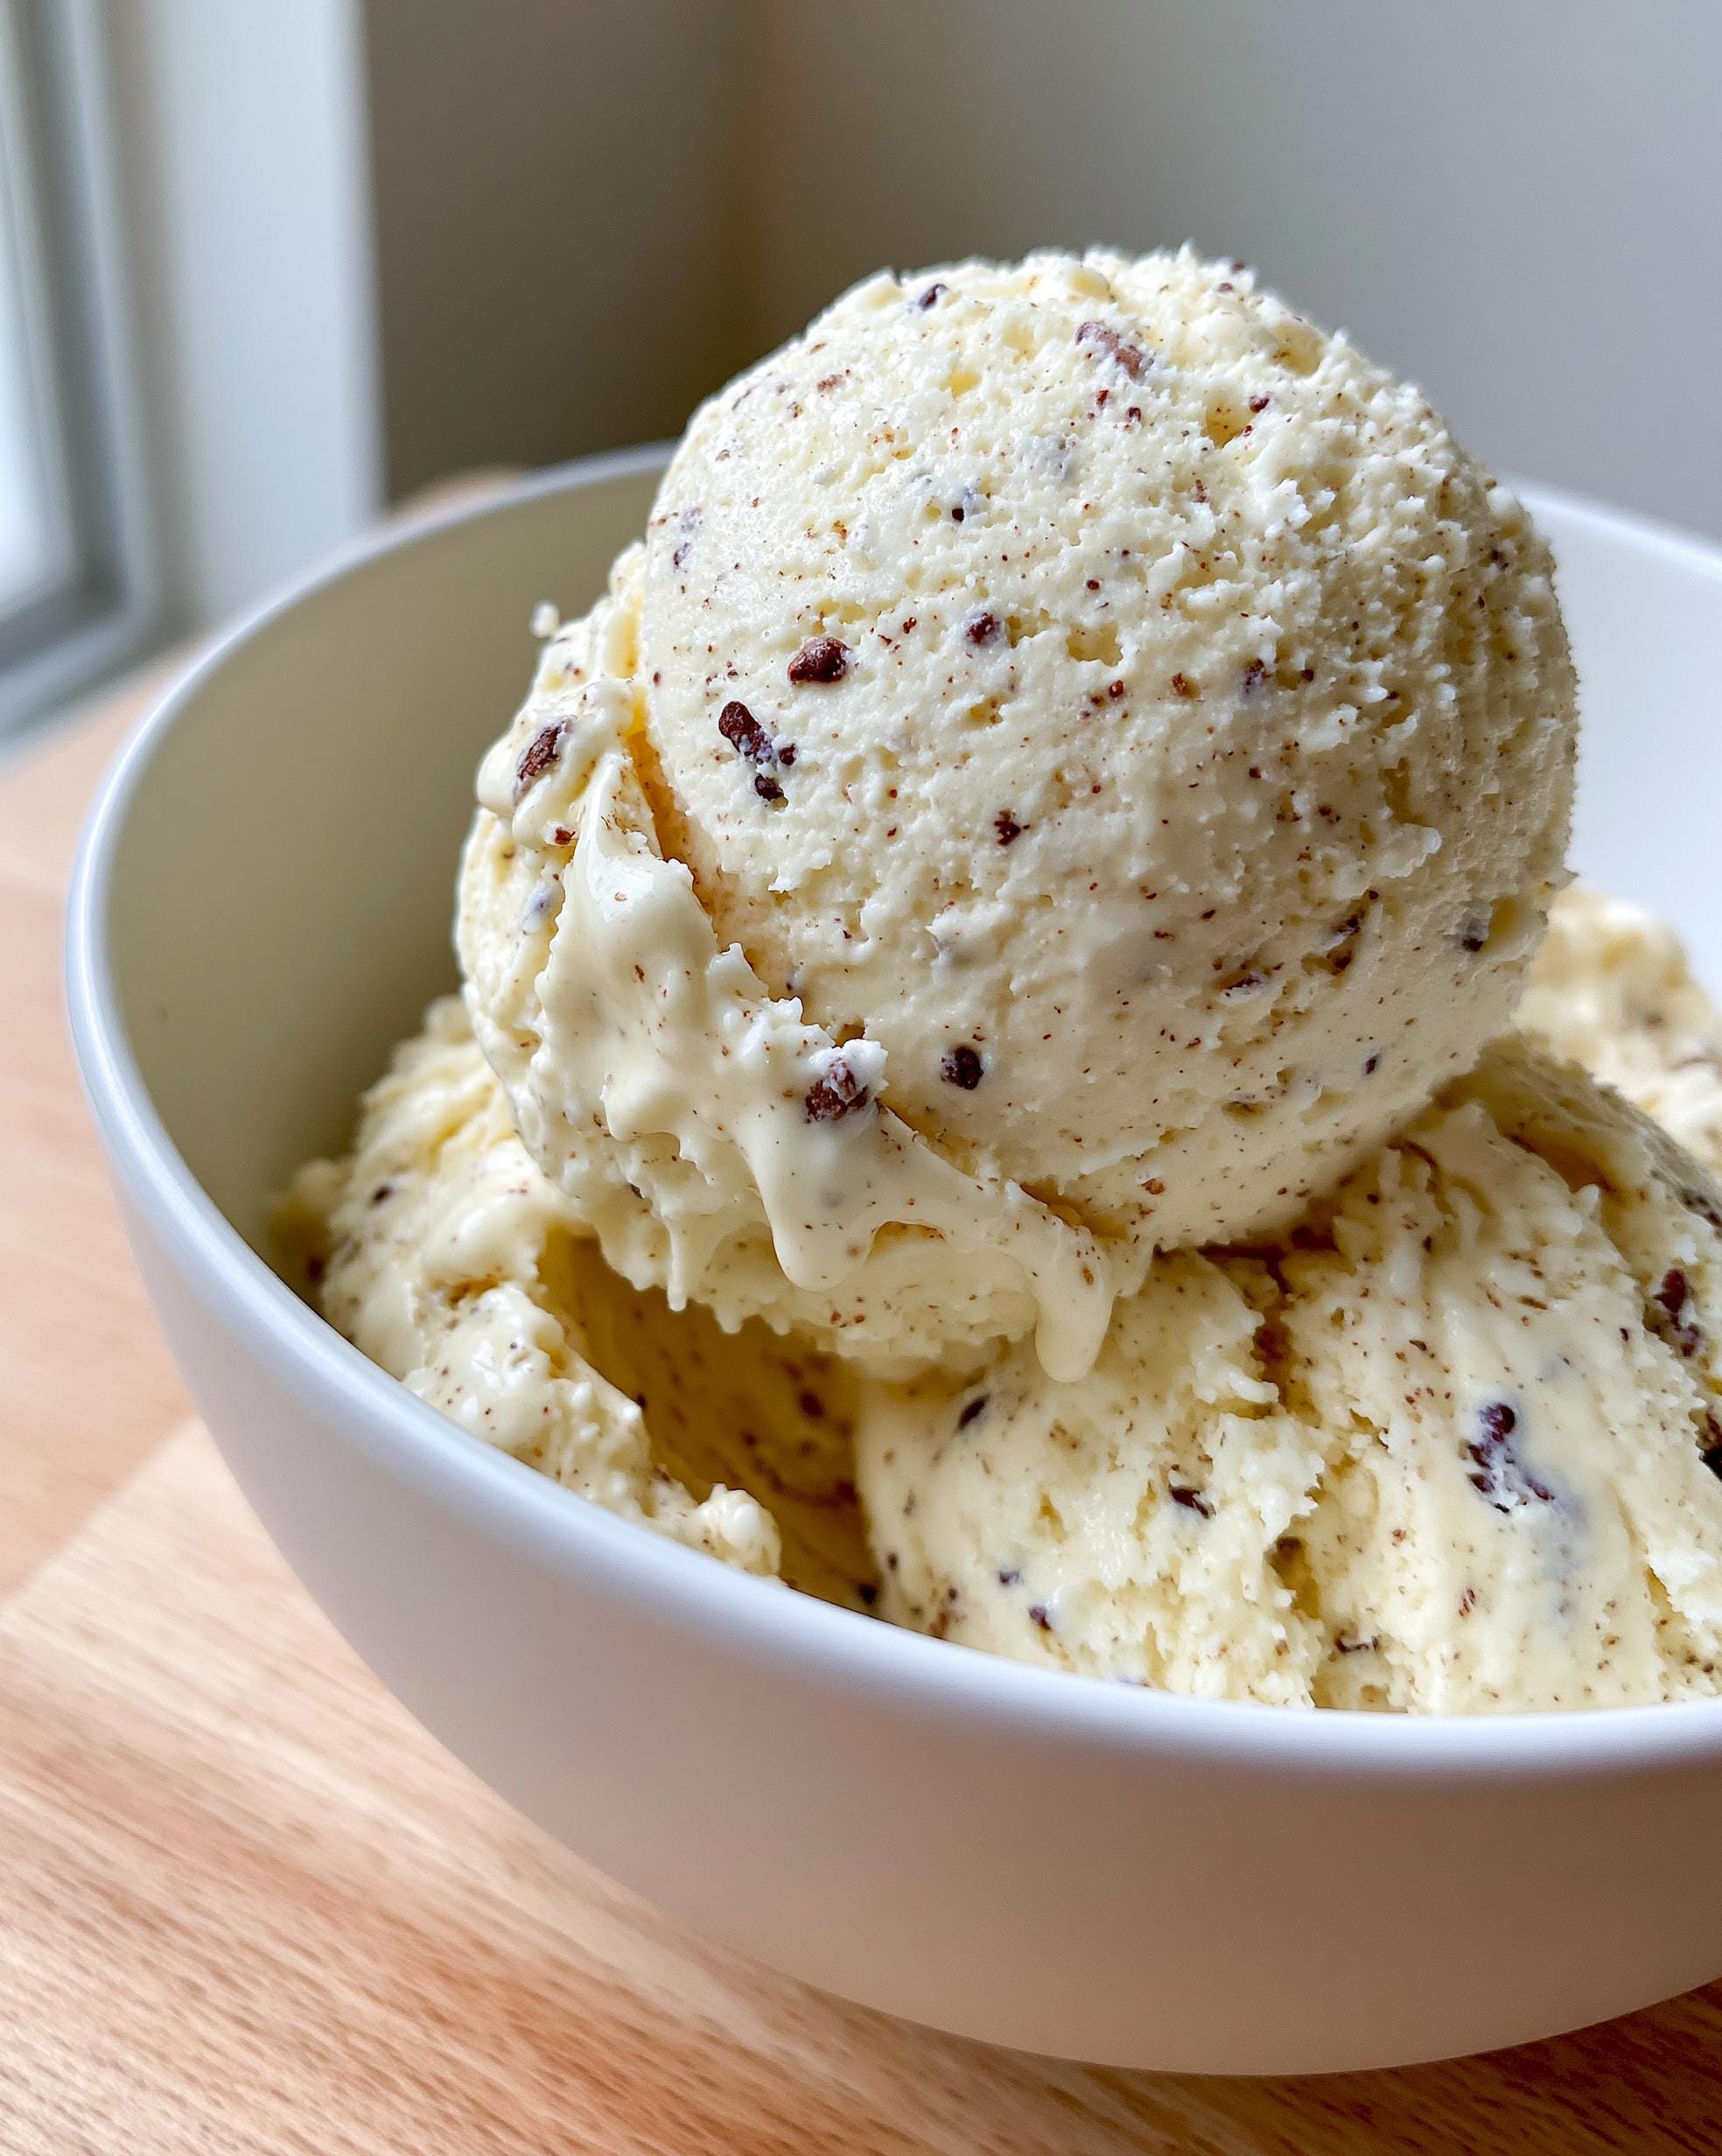
Protein Ice Cream
Ingredients
Equipment
Method
- Add the cottage cheese, Greek yogurt, protein powder, honey, vanilla extract, and milk to a blender.
- Blend for 1 to 2 minutes until completely smooth and creamy.
- Fold in the mini chocolate chips.
- Transfer the mixture to a freezer-safe container.
- Cover and freeze for 3 to 4 hours, stirring once after 90 minutes for a creamier texture.
- Let the ice cream sit at room temperature for 5 to 10 minutes before scooping and serving.